One Piece’s Monkey D. Luffy fought several enemies. Yes, he triumphed many times, but at other times, he suffered humiliating defeats.
One Piece is a thrilling action/adventure shonen anime packed with explosive fight scenes fans will never forget. Starting in the East Blue saga, protagonist Monkey D. Luffy met and fought an astonishing variety of foes, from local pirate captains to Warlords of the Sea. Eventually, he was tangling with the mighty Emperors, too. The whole time, Luffy learned and grew as a fighter and as a pirate captain, but it was never easy.
Luffy scored some incredible victories against his strongest foes throughout One Piece against all odds, but another question still stands: How many times has Luffy lost? He may be One Piece‘s hero, but he’s not invincible, and he has learned some hard lessons from his humiliating defeats. Luffy’s combat record may be mixed but he will always prevail and bring justice to every island he visits. And one day, the world will rejoice when Luffy inevitably becomes the Pirate King.
Updated on April 29, 2024, by Ajay Aravind: How many warlords did Luffy defeat in One Piece, and how many Emperors? Although the young Straw Hat has come a long way since his start in East Blue, his combat record has quite a few losses. Thankfully, Luffy doesn’t allow failure to stop him from trying again — and he almost always wins in the end. As such, we’ve updated this list with some more relevant information.
Luffy’s Triumphant Victories Show His Resilience
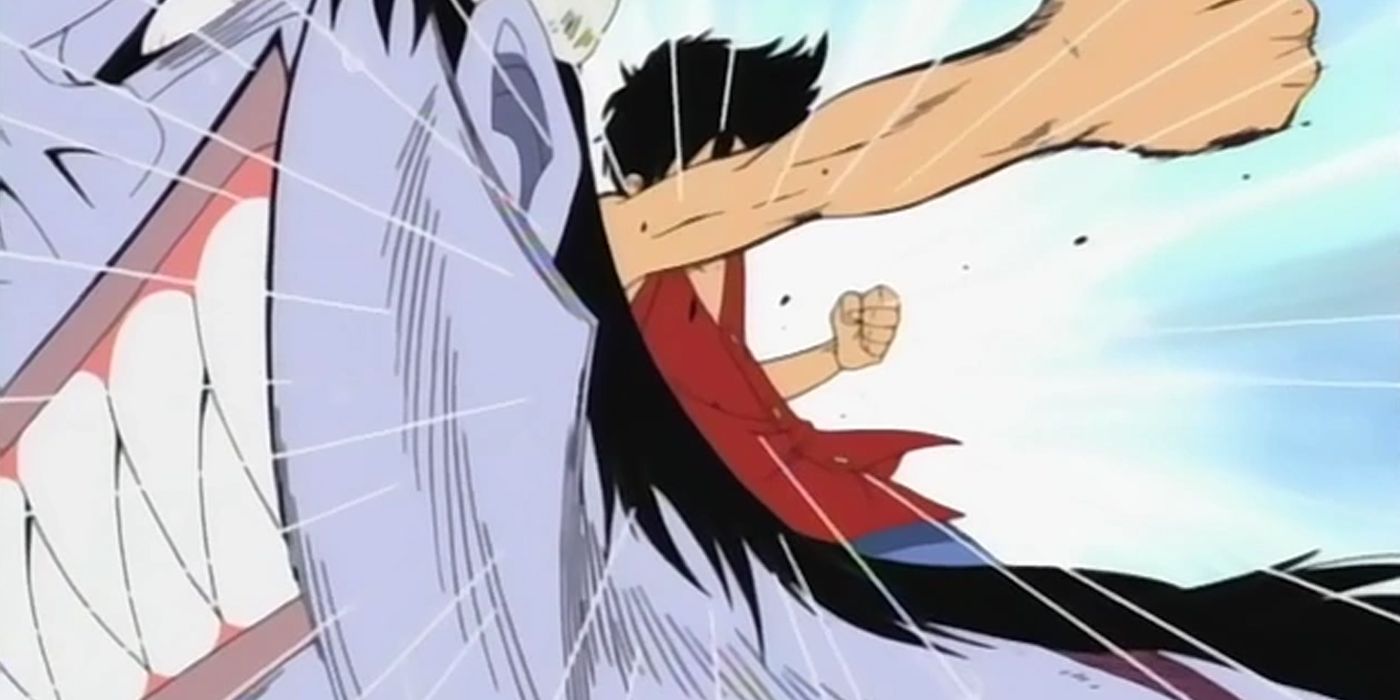
Luffy Defeated Arlong While Simultaneously Destroying His Entire Operation
Arc
Episode No.
Episode Name
Arlong Park
43
“The End of the Fish-Man Empire! Nami is My Friend!”
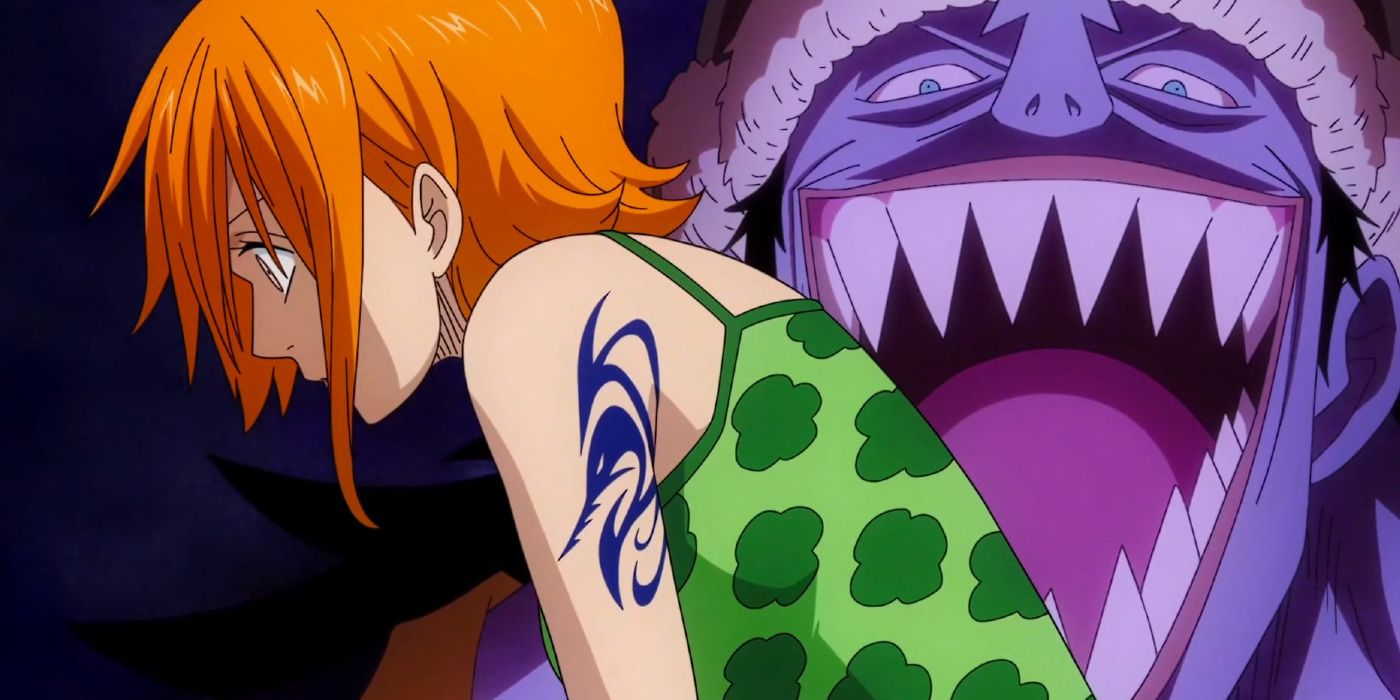
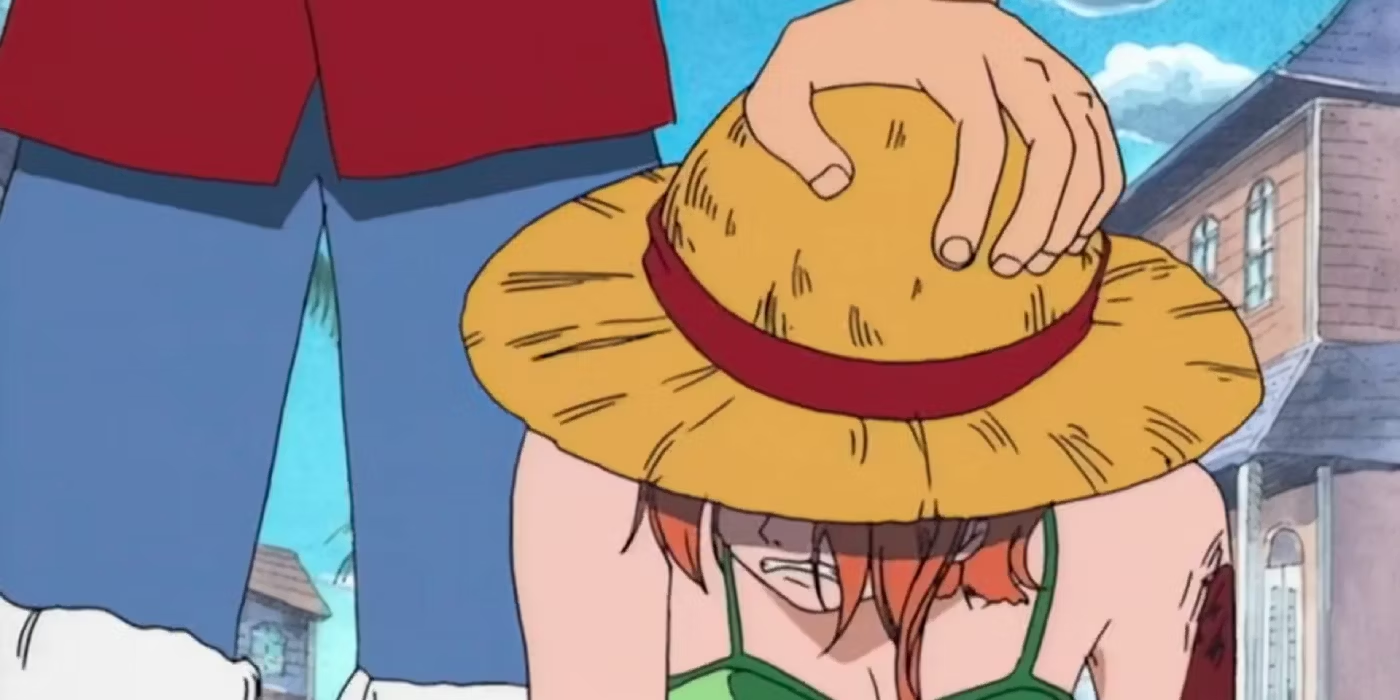
Monkey D. Luffy’s final fight in the East Blue saga pitted him against his first-ever Fish-Man opponent — the scheming Arlong, a former member of the Sun Pirates. He was absolutely determined to help Nami reclaim Coco Village’s freedom from Arlong’s tyrannical grasp. As a result, Luffy marched right into battle when Nami tearfully said “Help me.”
The fight was a rough one for Luffy, since he didn’t yet have Gears or Color of Arms Haki while Arlong had the benefit of his superhuman strength and plenty of water to work with. Still, Luffy prevailed in the end, and symbolically destroyed Nami’s cartography room in Arlong’s headquarters during that battle. Further, Luffy decided to destroy the Arlong Pirates’ base of operations with a magnificent Gomu Gomu no Battleaxe, ending their reign of terror for good.
Despite Failing Twice Before, Luffy Managed To Crush Crocodile
Arc
Episode Name
Arabasta
126
“I Will Surpass You! Rain Falls on Arabasta!”
Luffy’s first two fights against Sir Crocodile both ended in bitter defeat, but only moments after his second loss, Luffy was already back in shape for round three. Luffy chased after Crocodile in the war-torn capital Alubarna, and confronted his warlord nemesis in the underground chambers. As King Nefeltari Cobra watched, Luffy began the final fight for Alabasta’s fate.
This time, Luffy fully respected his opponents’ power and knew his weaknesses better than ever, which helped even the odds. Crocodile took a beating, and not even his poisoned hook could help him defeat the stubborn upstart Luffy. The Warlord is tossed around like a rag-doll, unconscious and completely helpless, until he finally crashes to the ground. With Crocodile’s final defeat, a relieved Luffy happily said “it was nothing” to set Cobra’s heart at ease.
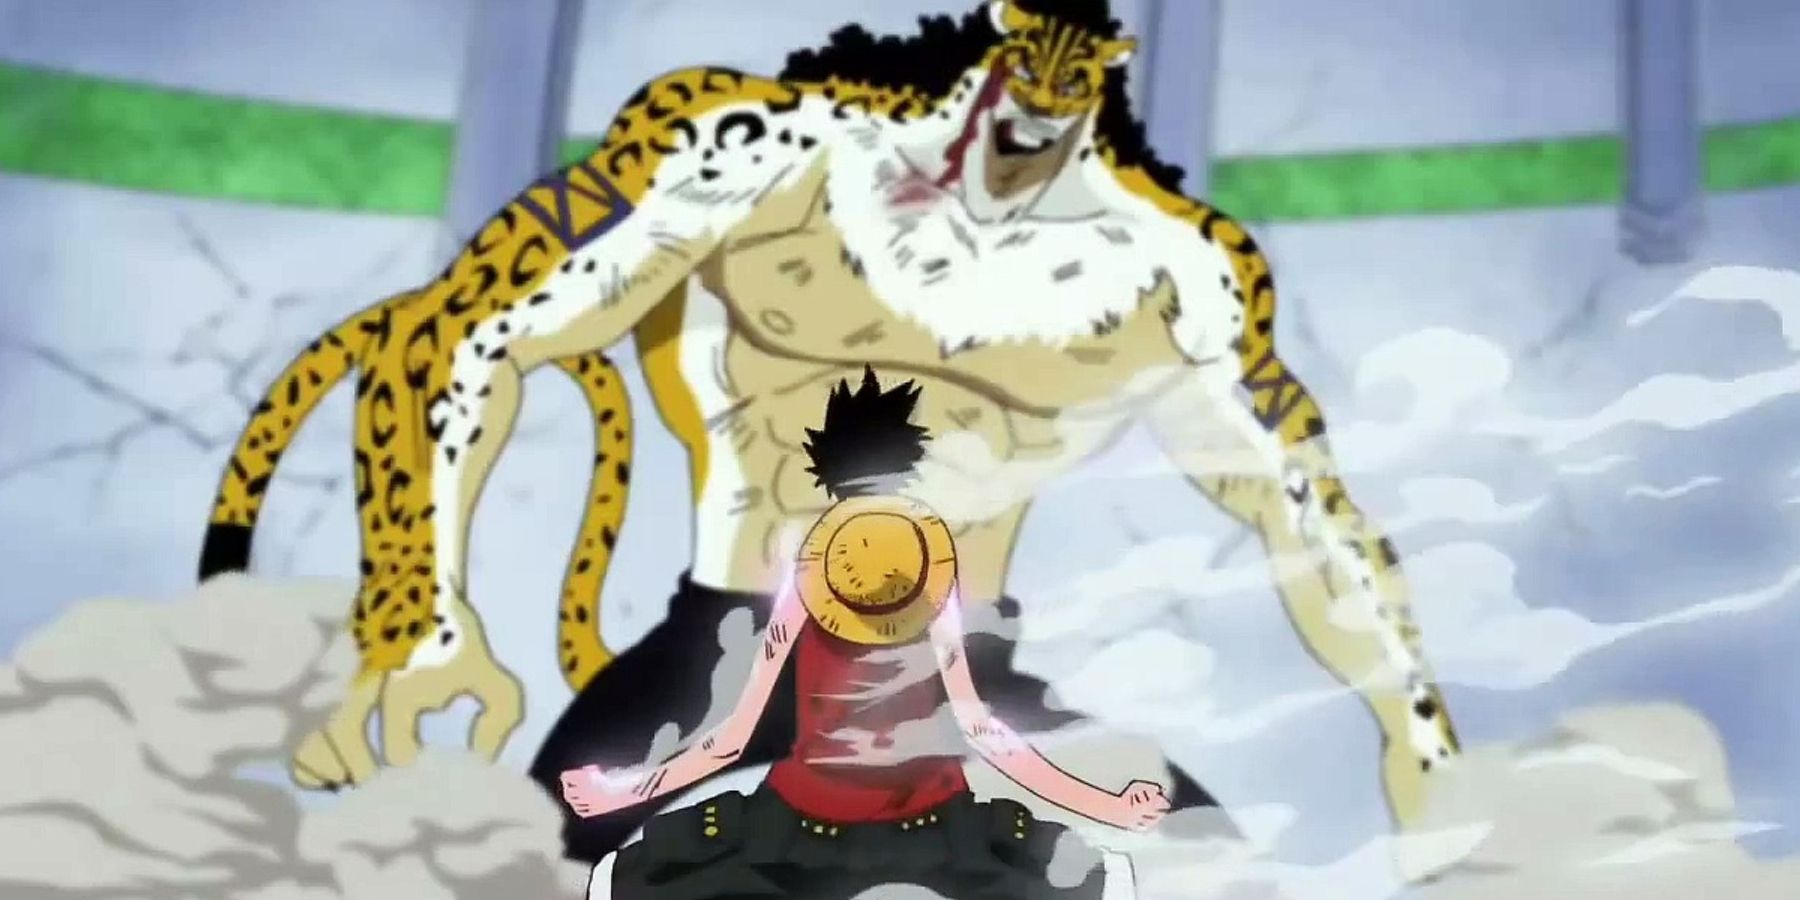
CP9’s Rob Lucci Was No Match For Luffy’s Perseverance
Arc
Episode No.
Episode Name
Enies Lobby
309
“Feelings Put Into Fists! Luffy’s Full-Power Gatling”
In hindsight, Rob Lucci might not rank that high among the list of enemies Luffy defeated, but Luffy’s victory over Lucci was still a thrilling and meaningful one in the Water 7 saga. Luffy’s kuudere friend Nico Robin had been taken away, and Luffy’s crew arrived at Enies Lobby to get her back at any cost. At this point in the story, the Straw Hat captain had already learned how to use Gears 2 and 3, although not without severe repercussions on his body.
In any case, Luffy’s fights against CP9 broke new ground in One Piece, since he was finally using Gear 2 and Gear 3 in combat. After taking down Blueno, Luffy battled it out with the leopard-like Rob Lucci, using his Gears to give himself the edge against such a powerful Zoan-type fruit. Although the fight wasn’t easy, a combination of perseverance and Jet Gatling ensured Luffy’s victory over Rob Lucci.
Donquixote Doflamingo Remained Arrogant Until The Moment Of His Defeat
Arc
Episode No.
Episode Name
Dressrosa
733
“Attack on a Celestial – Luffy’s King Kong Gun of Anger”
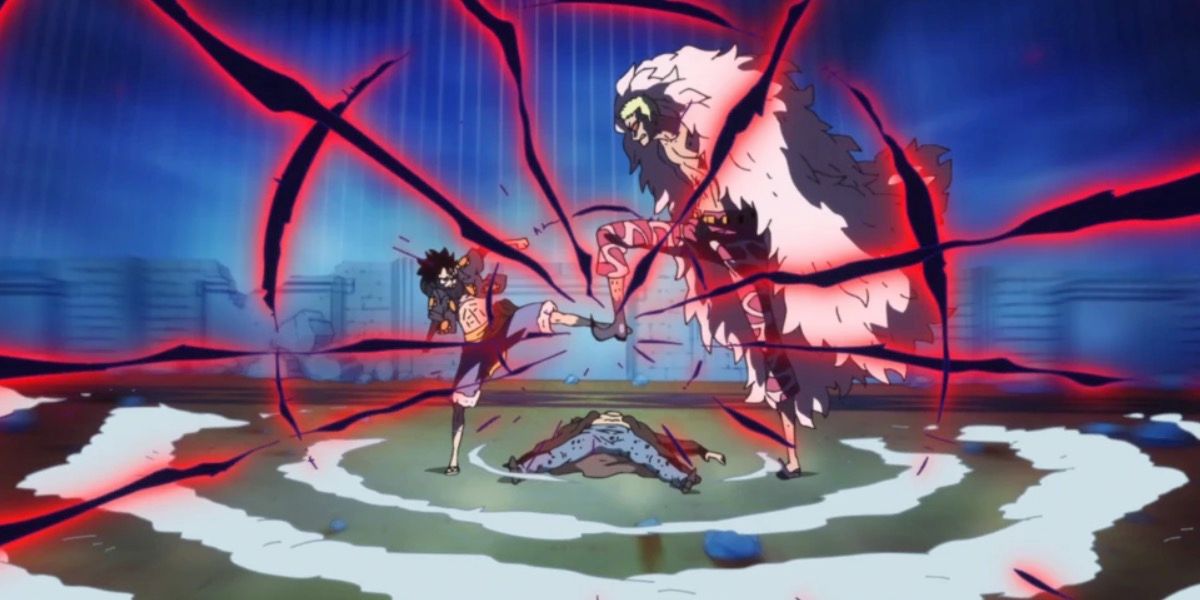
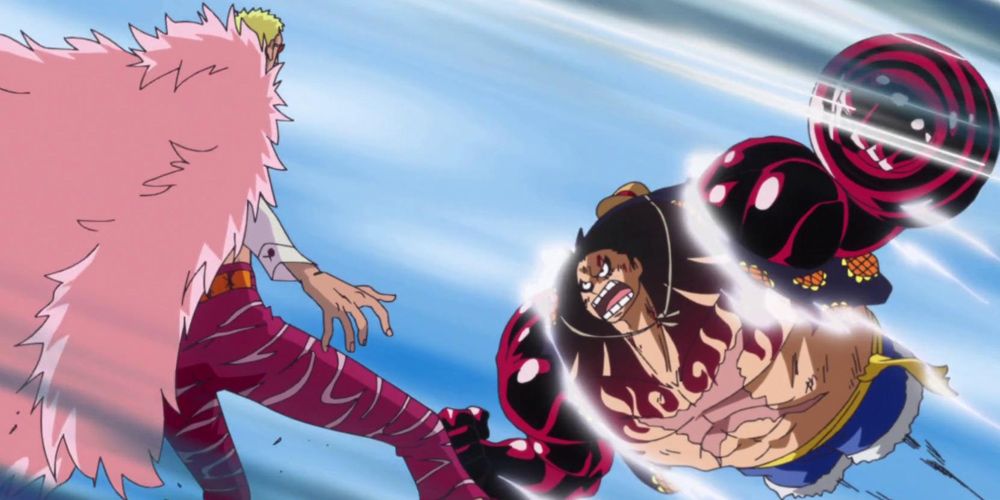
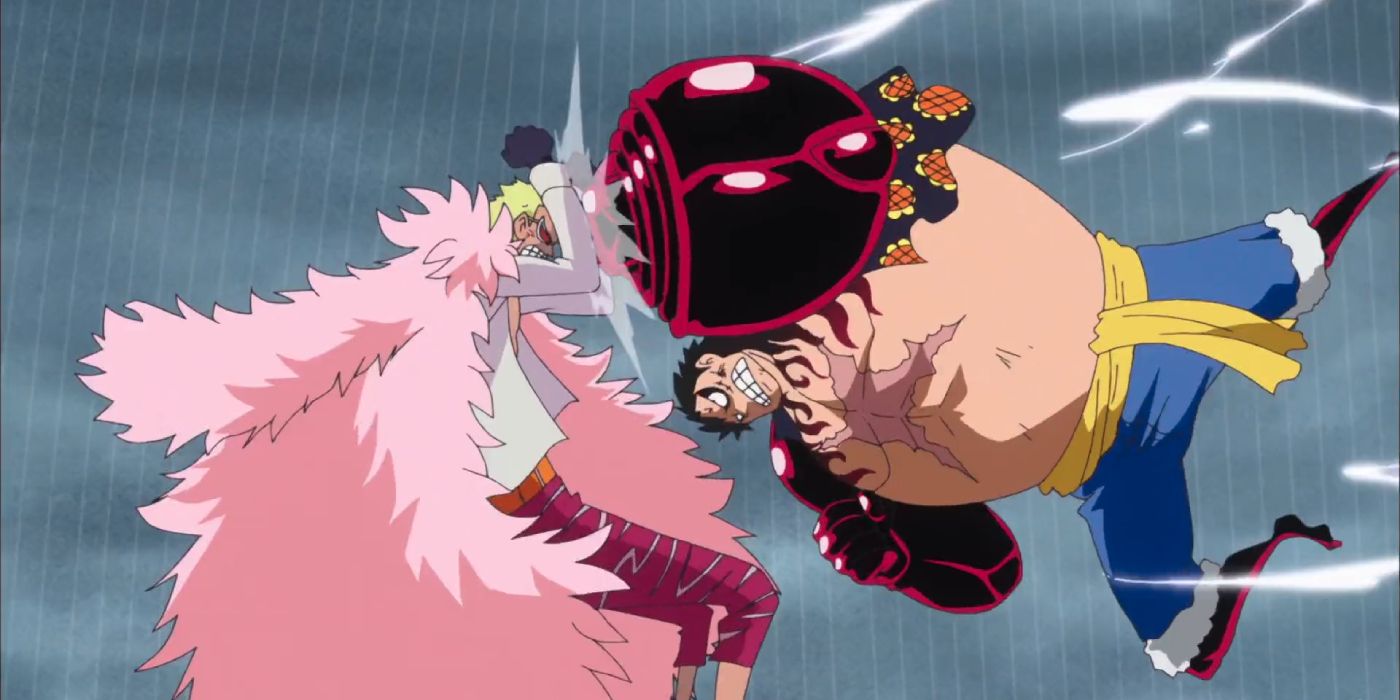
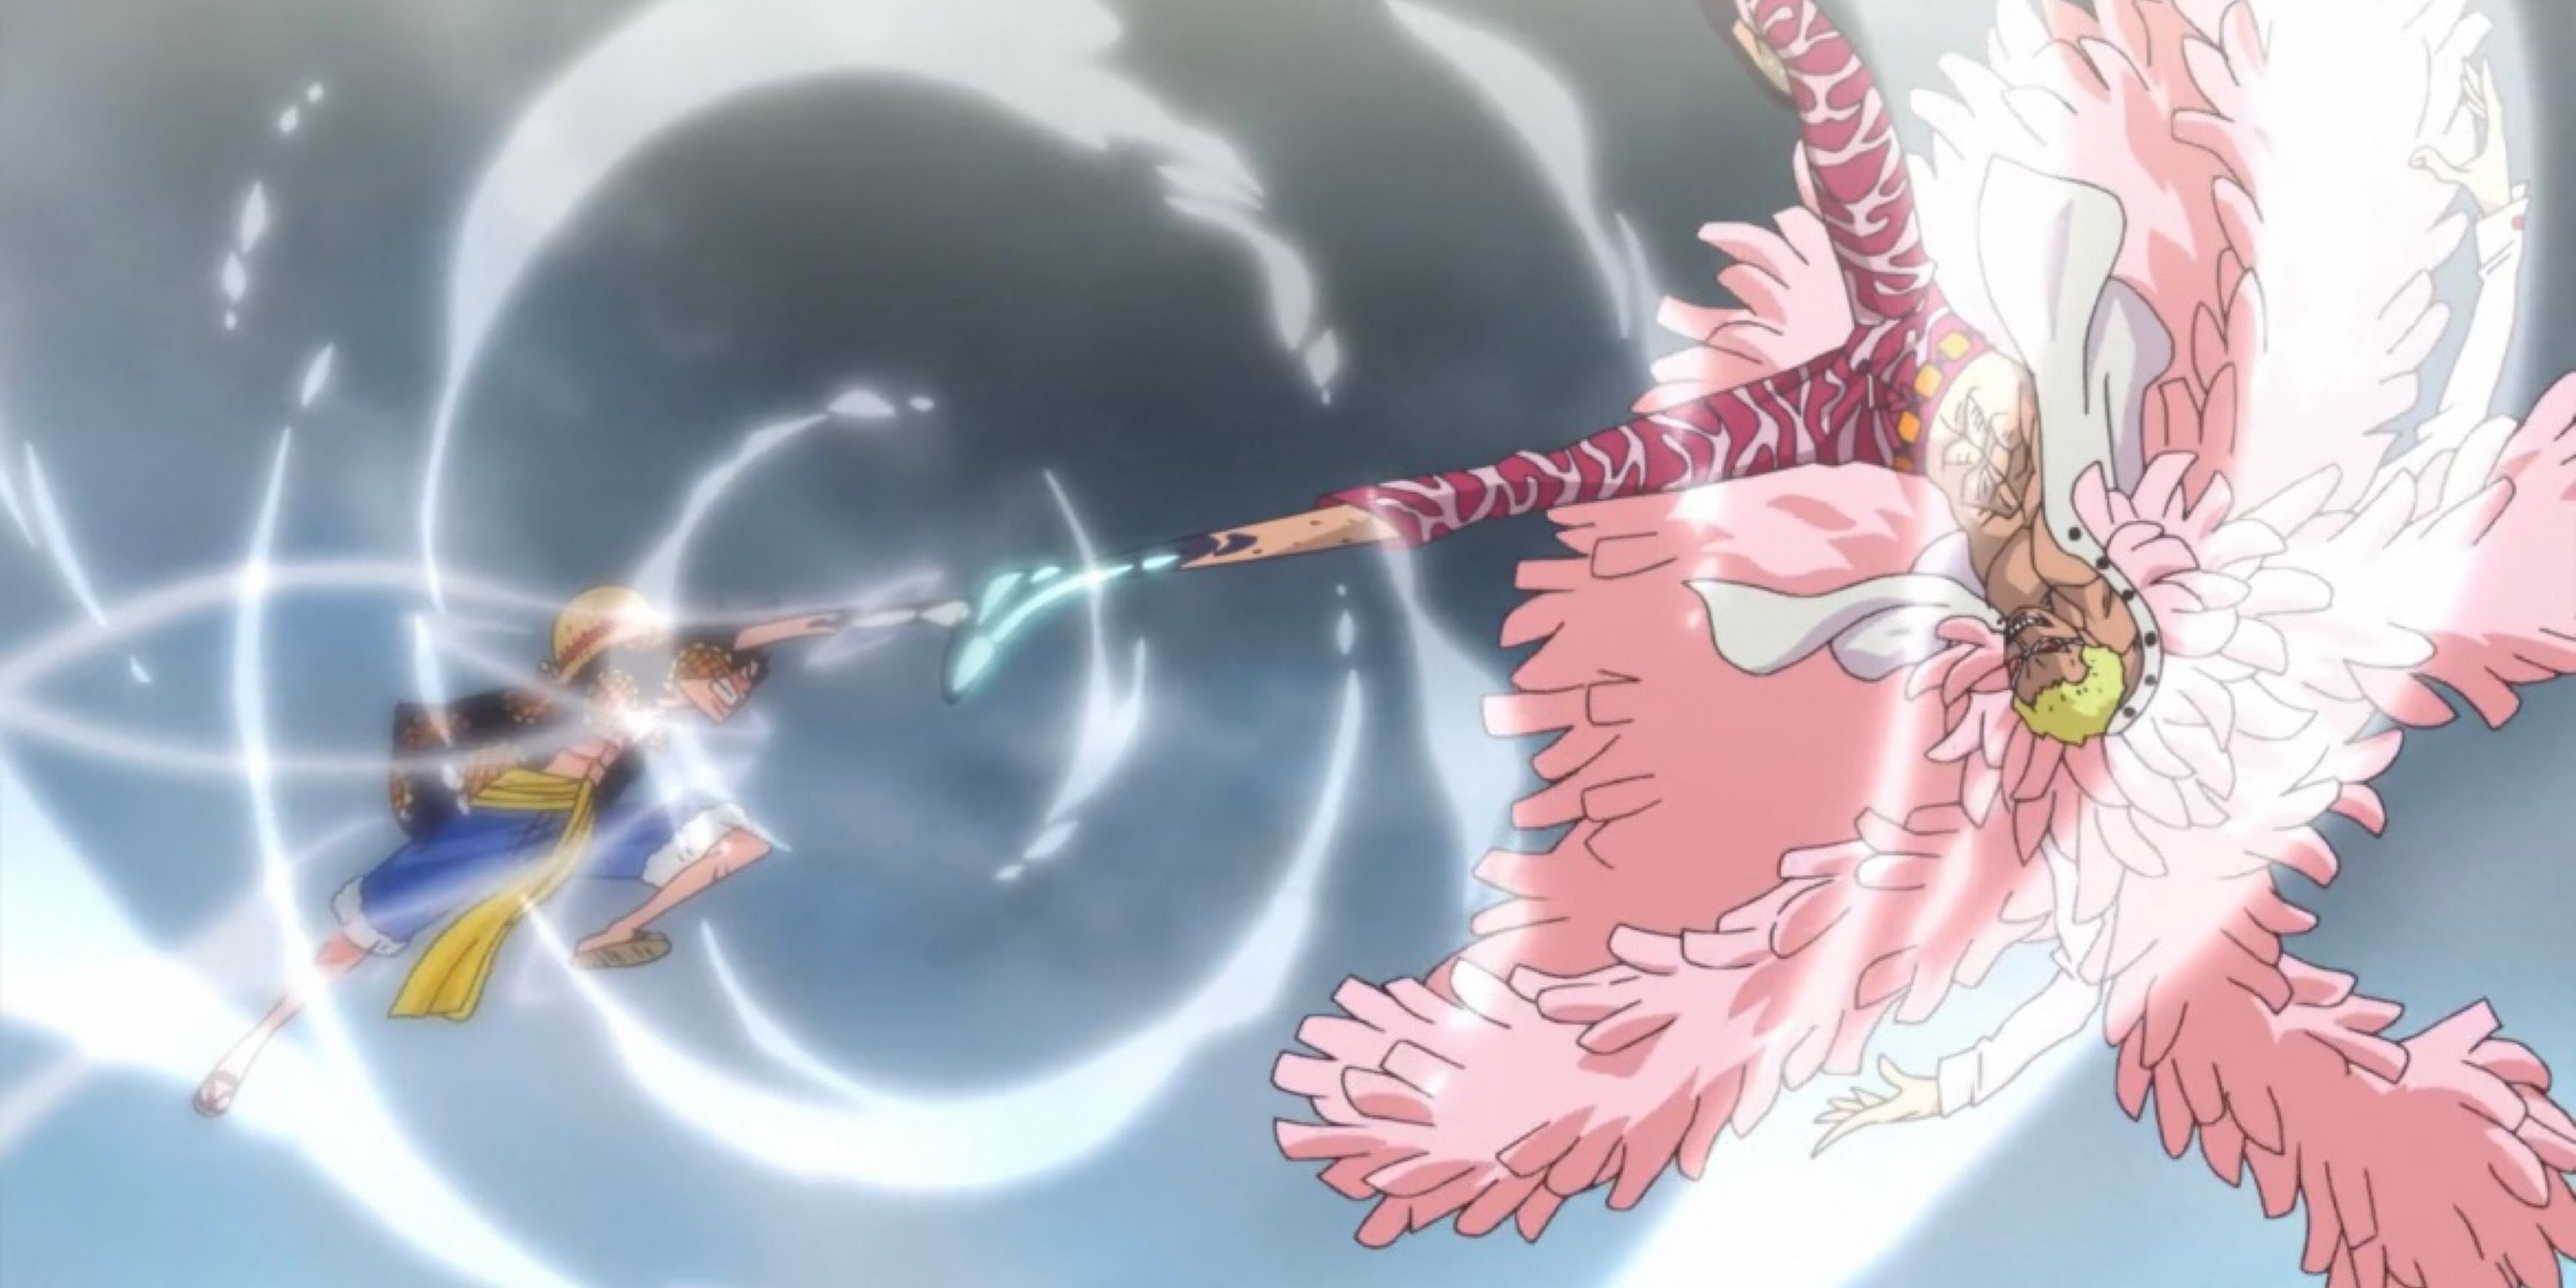
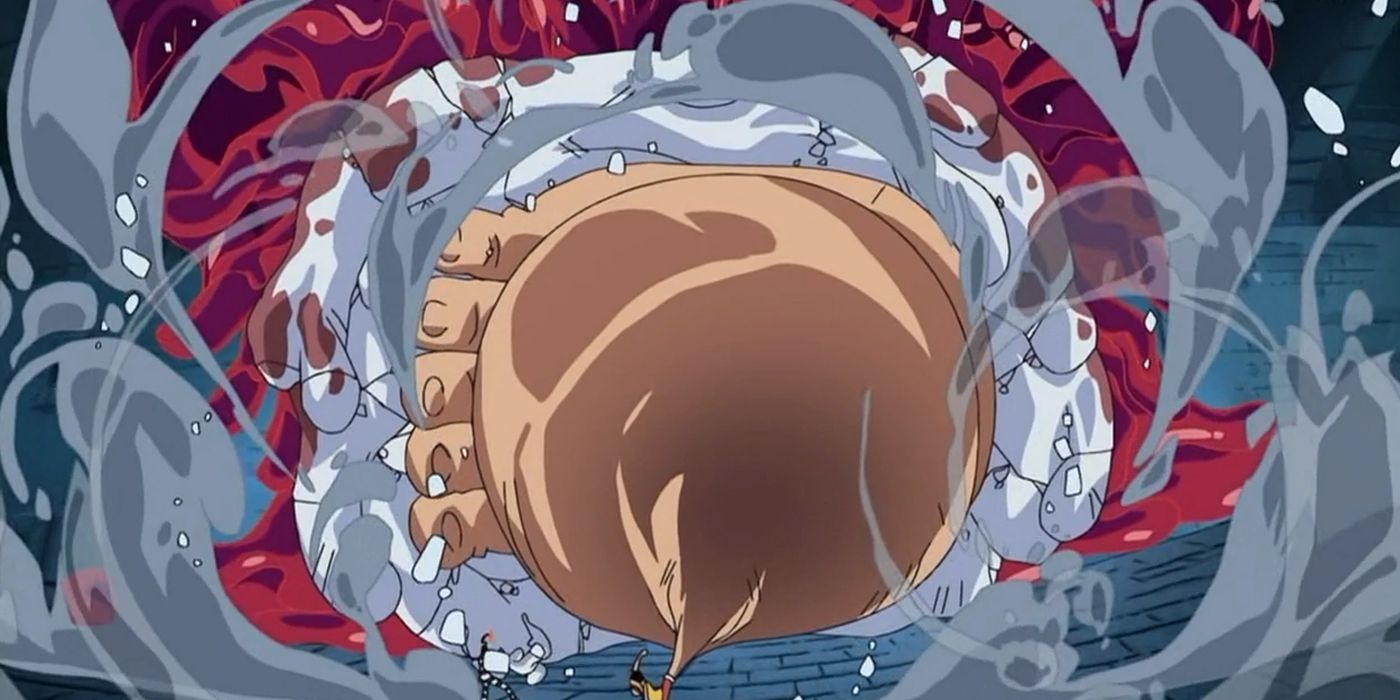
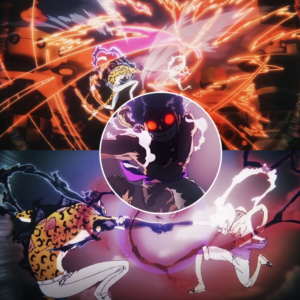
Luffy had already heard all kinds of terrible things about Donquixote Doflamingo the warlord in the New World, but he didn’t get a chance to fight that tyrant until the climax of the Dressrosa saga. Doflamingo was seemingly unstoppable with his String-String Fruit and not even Law could handle him. However, Luffy intervened, finally using the power of Gear 4 to fight his greatest enemy yet.
It was a thrilling sight to see, especially since Doflamingo had already Awakened his Devil Fruit. Luffy ultimately combined Haki with his rubbery powers to create something new in Gear 4, and in the end, he prevailed. Doflamingo’s everpresent glasses shattered, marking his utter defeat. However, Luffy knew that this was just a warmup compared to taking on even greater foes in the future, such as Big Mom and Kaido.
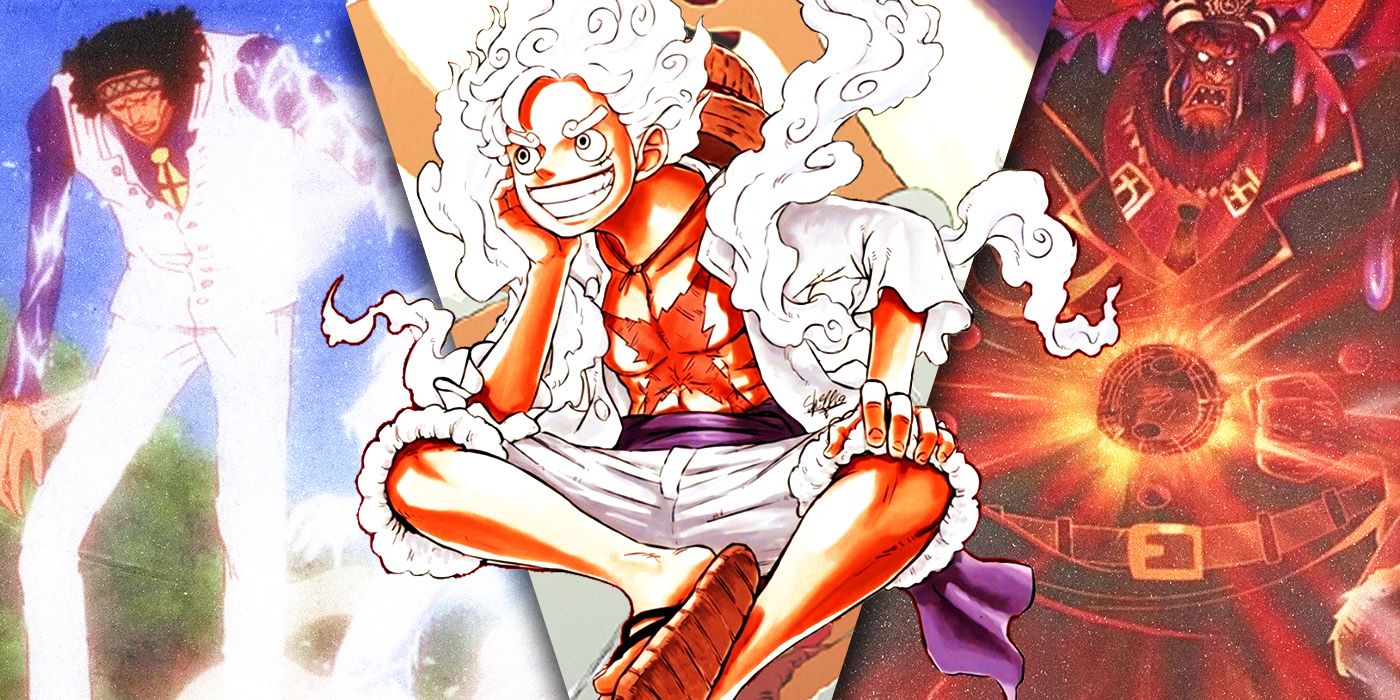
Luffy’s Gear Fifth Form Effectively Rendered Kaido Helpless

Arc
Episode No.
Episode Name
Wano Country
1076
“The World That Luffy Wants!”
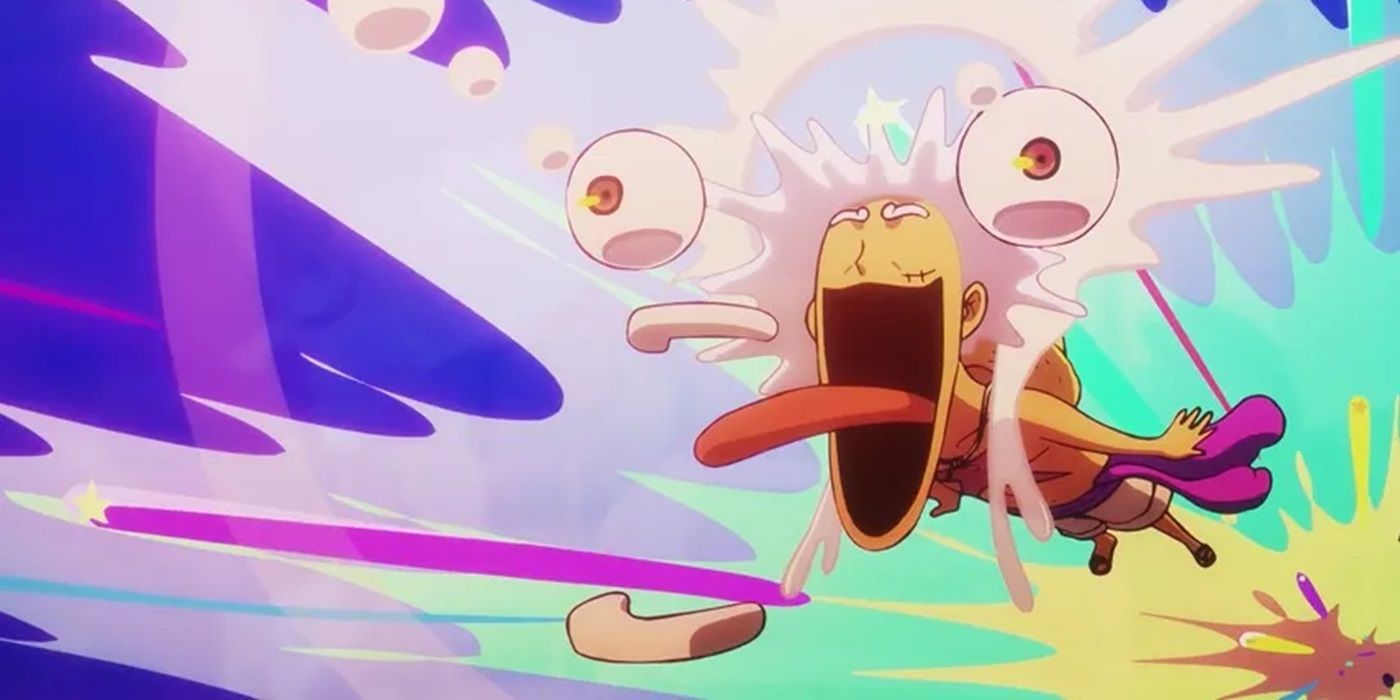
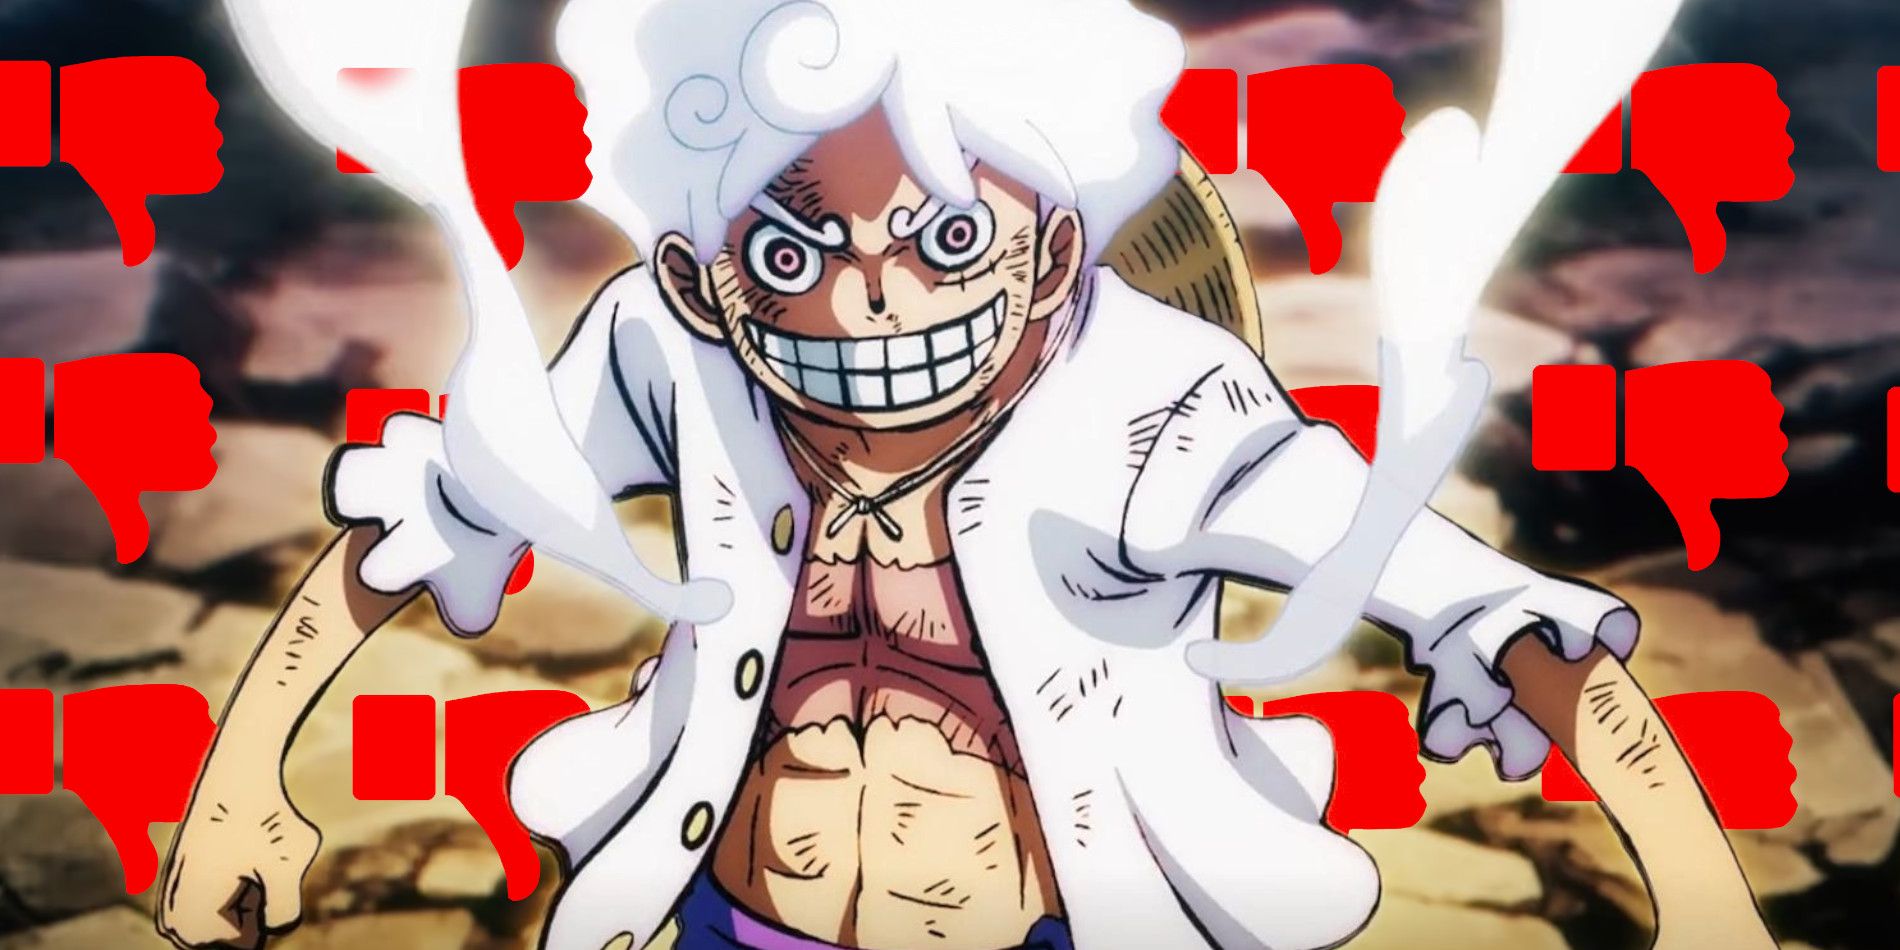
Luffy lost badly to Kaido the first time they clashed in Wano, but as manga fans know, Luffy prevailed in the end against the strongest living creature in the world. Not even Luffy’s best Gear 4 moves could take down Kaido. At the last moment, however, Luffy Awakened his Gum-Gum Fruit and manifested the power of Nika, the Warrior of Liberation.
Now Luffy wields the incredible power of Gear 5, transforming him into a goofy but unstoppable warrior with cartoon physics. In this overwhelming form, Luffy secured his final victory over Wano’s greatest tyrant, leaving Kaido to fall into an abyss. This further allowed him to replace Kaido as one of the Four Emperors. Luffy also got a massive bounty to match his impressive victory, showing just how far he had come since the early days.
Luffy’s Humiliating Defeats Helped Him Grow Stronger
Admiral Aokiji Freezes Monkey D. Luffy and Nico Robin Solid
Arc
Episode No.
Episode Name
Long Ring Long Land
228
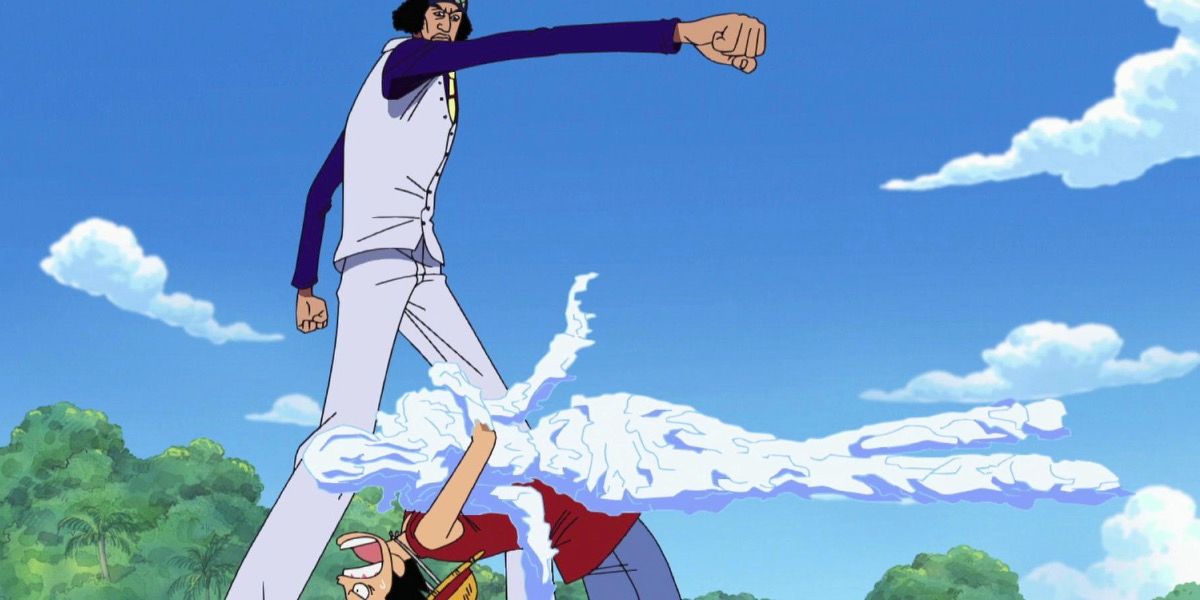
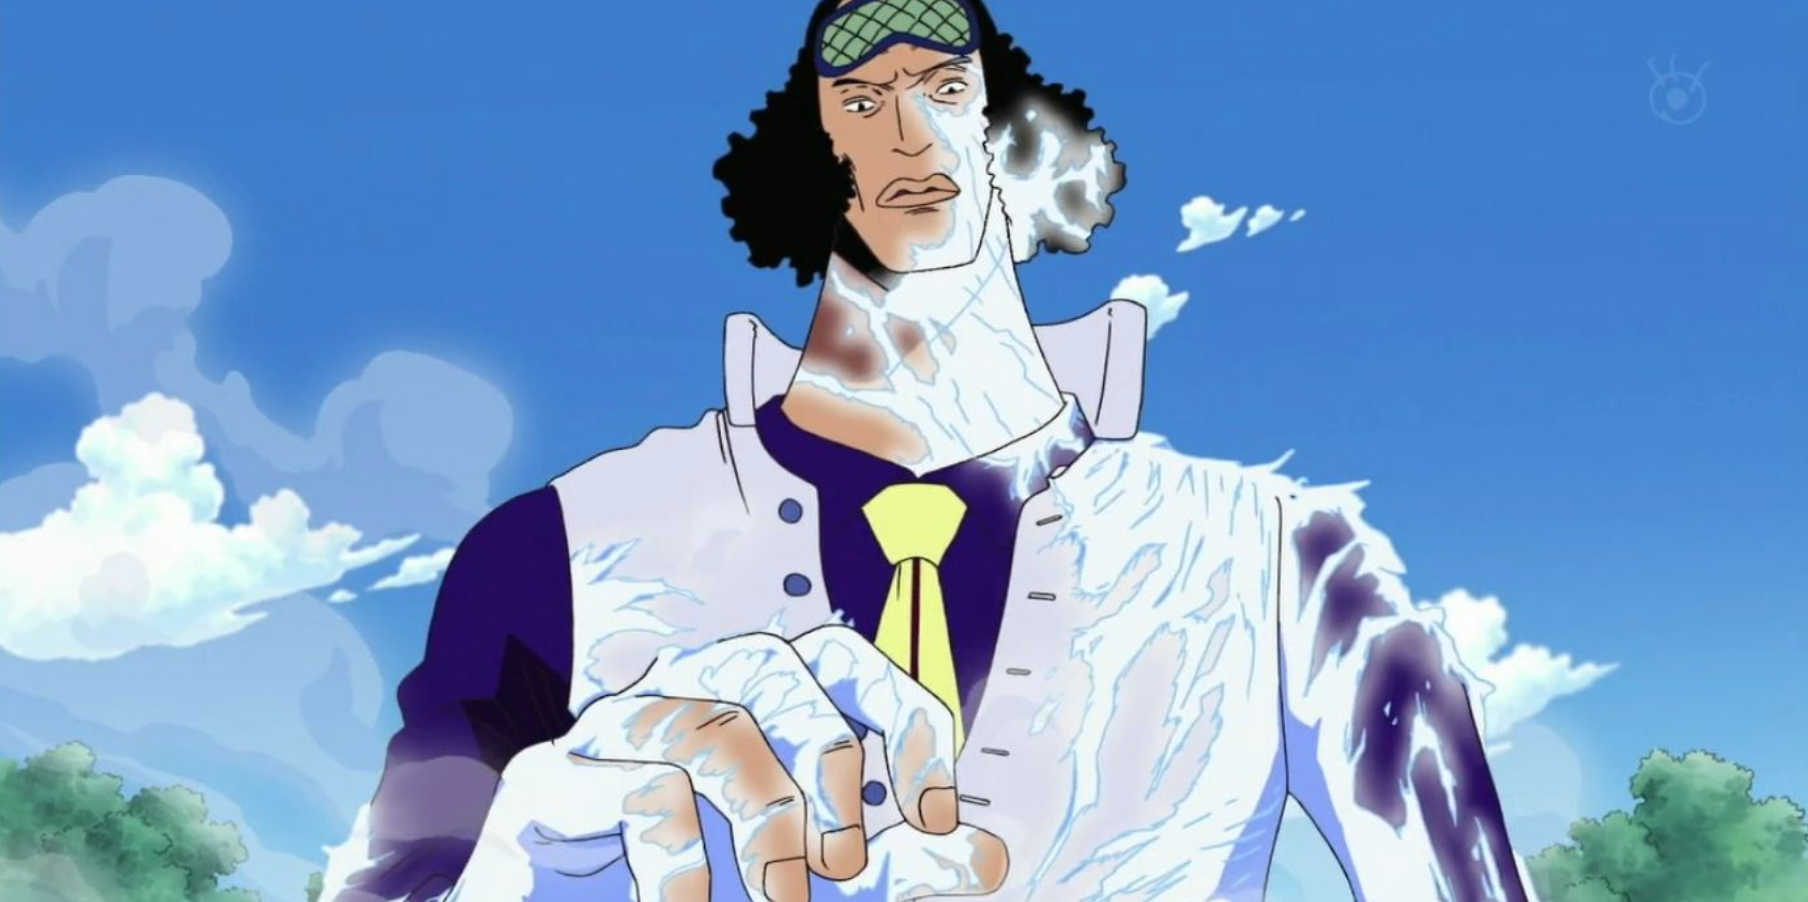
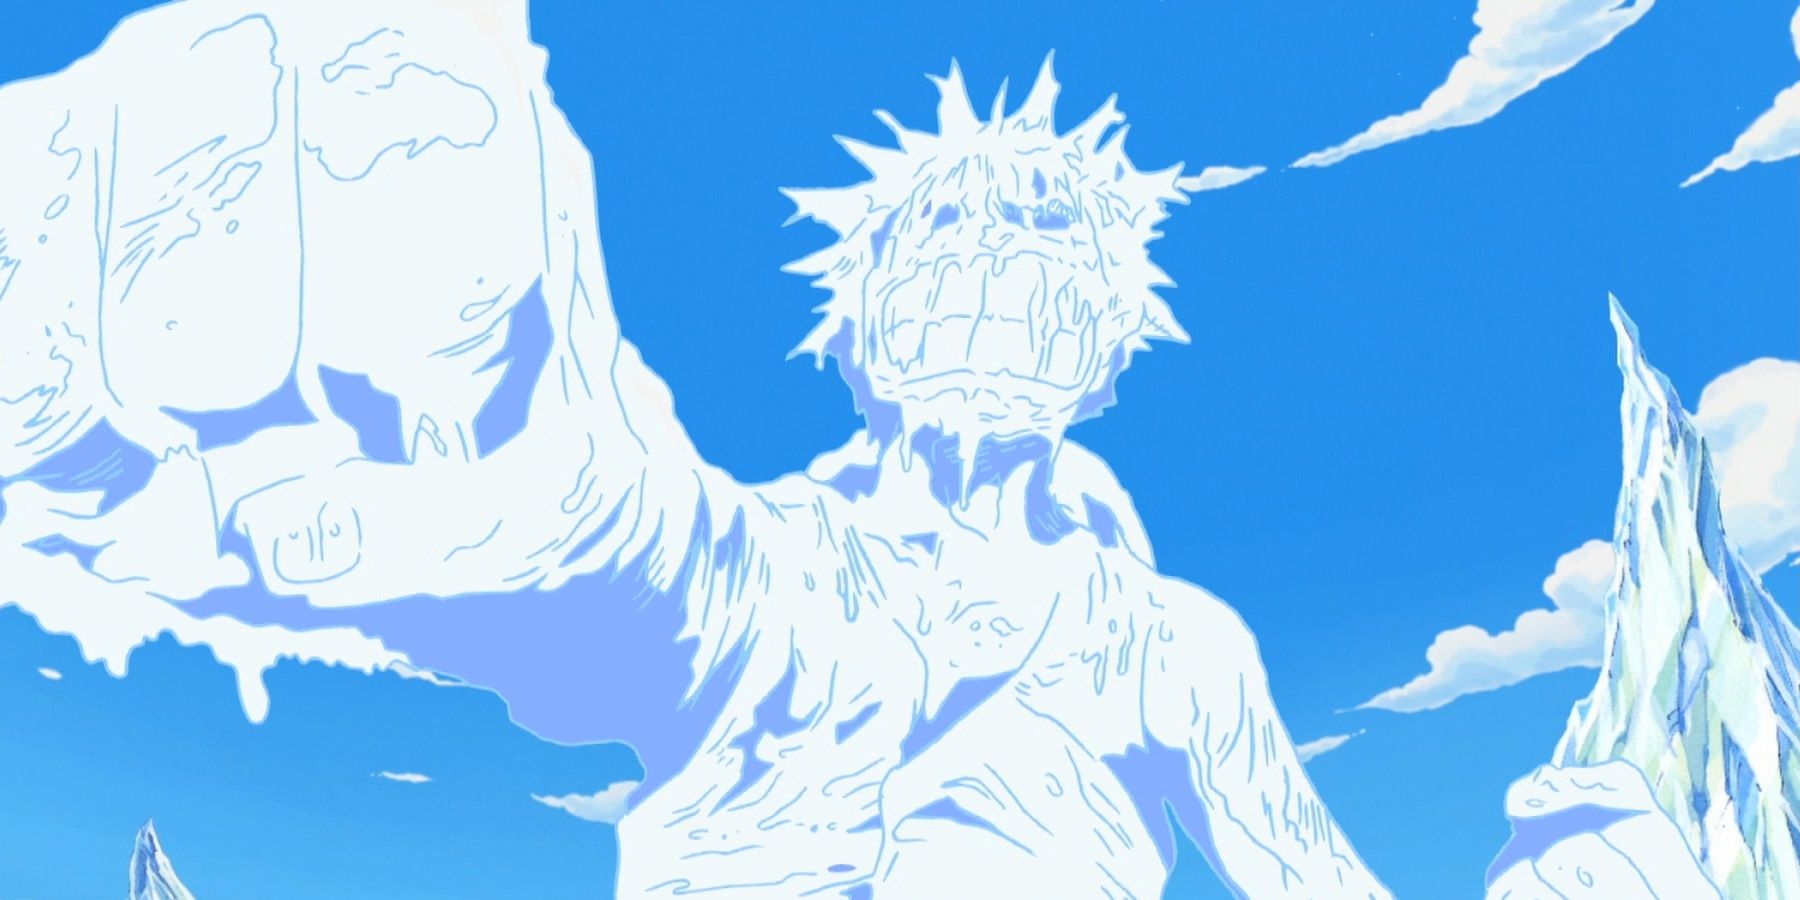
“Rubber and Ice One-On-One Fight! Luffy vs. Aokiji!”
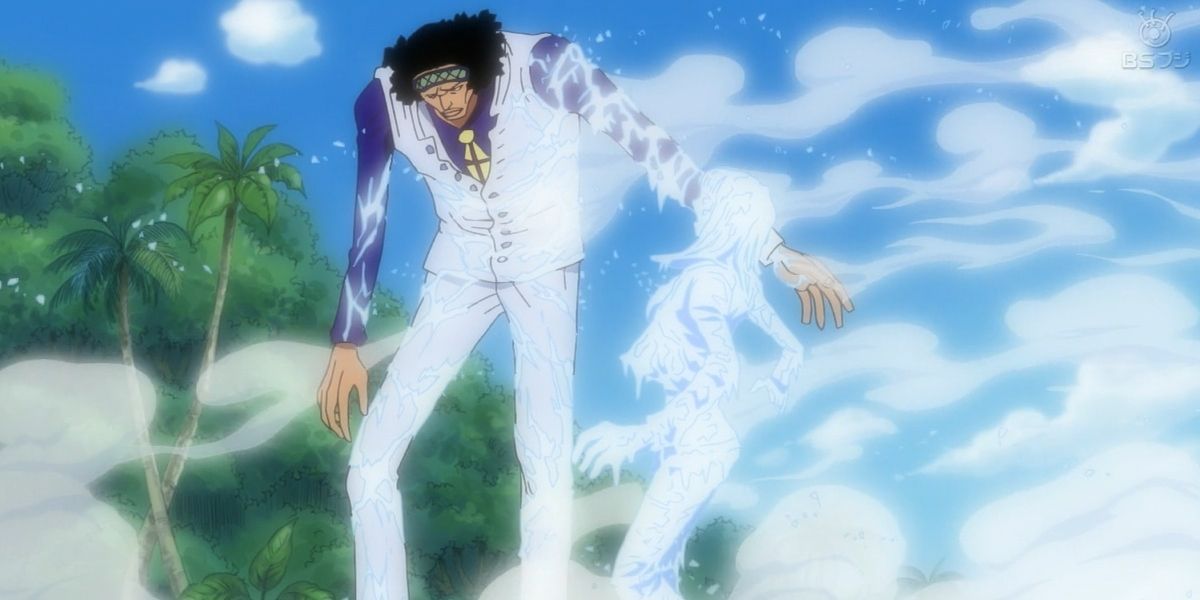
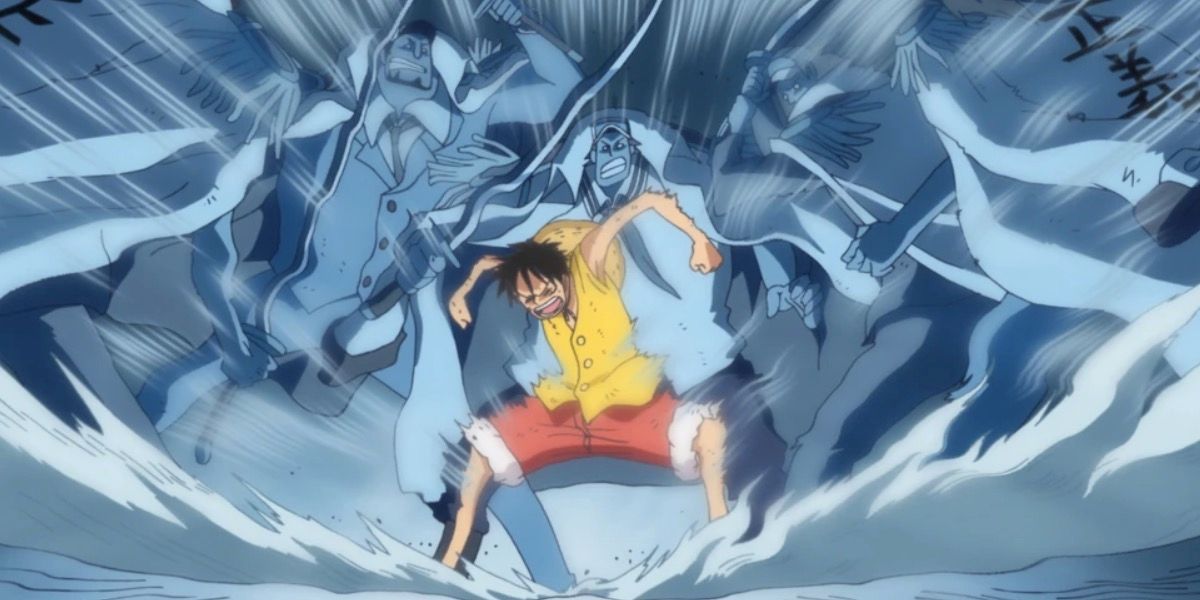
Luffy and his friends did well against the tricky Foxy the Silver Fox during the filler-style Long Ring Long Land arc, but those warm, fuzzy feelings of victory didn’t last long. Of all the people for the Straw Hats to encounter, the mighty Admiral Aokiji arrived on the island where they had taken shelter. This was the first time viewers had seen an Admiral in battle, and Aokiji proceeded to teach the Straw Hats a brutal lesson about the Navy’s true power.
The combined Straw Hats stood no chance against the Admiral, and even the defiant Luffy got frozen solid with frightening ease. Fortunately, Aokiji was in a forgiving mood and let the Straw Hats go, partially because they had recently taken the villainous Crocodile and his Baroque Works out of the political equation. In any other situation, Luffy and his pals would have been hauled straight to Impel Down in shackles.
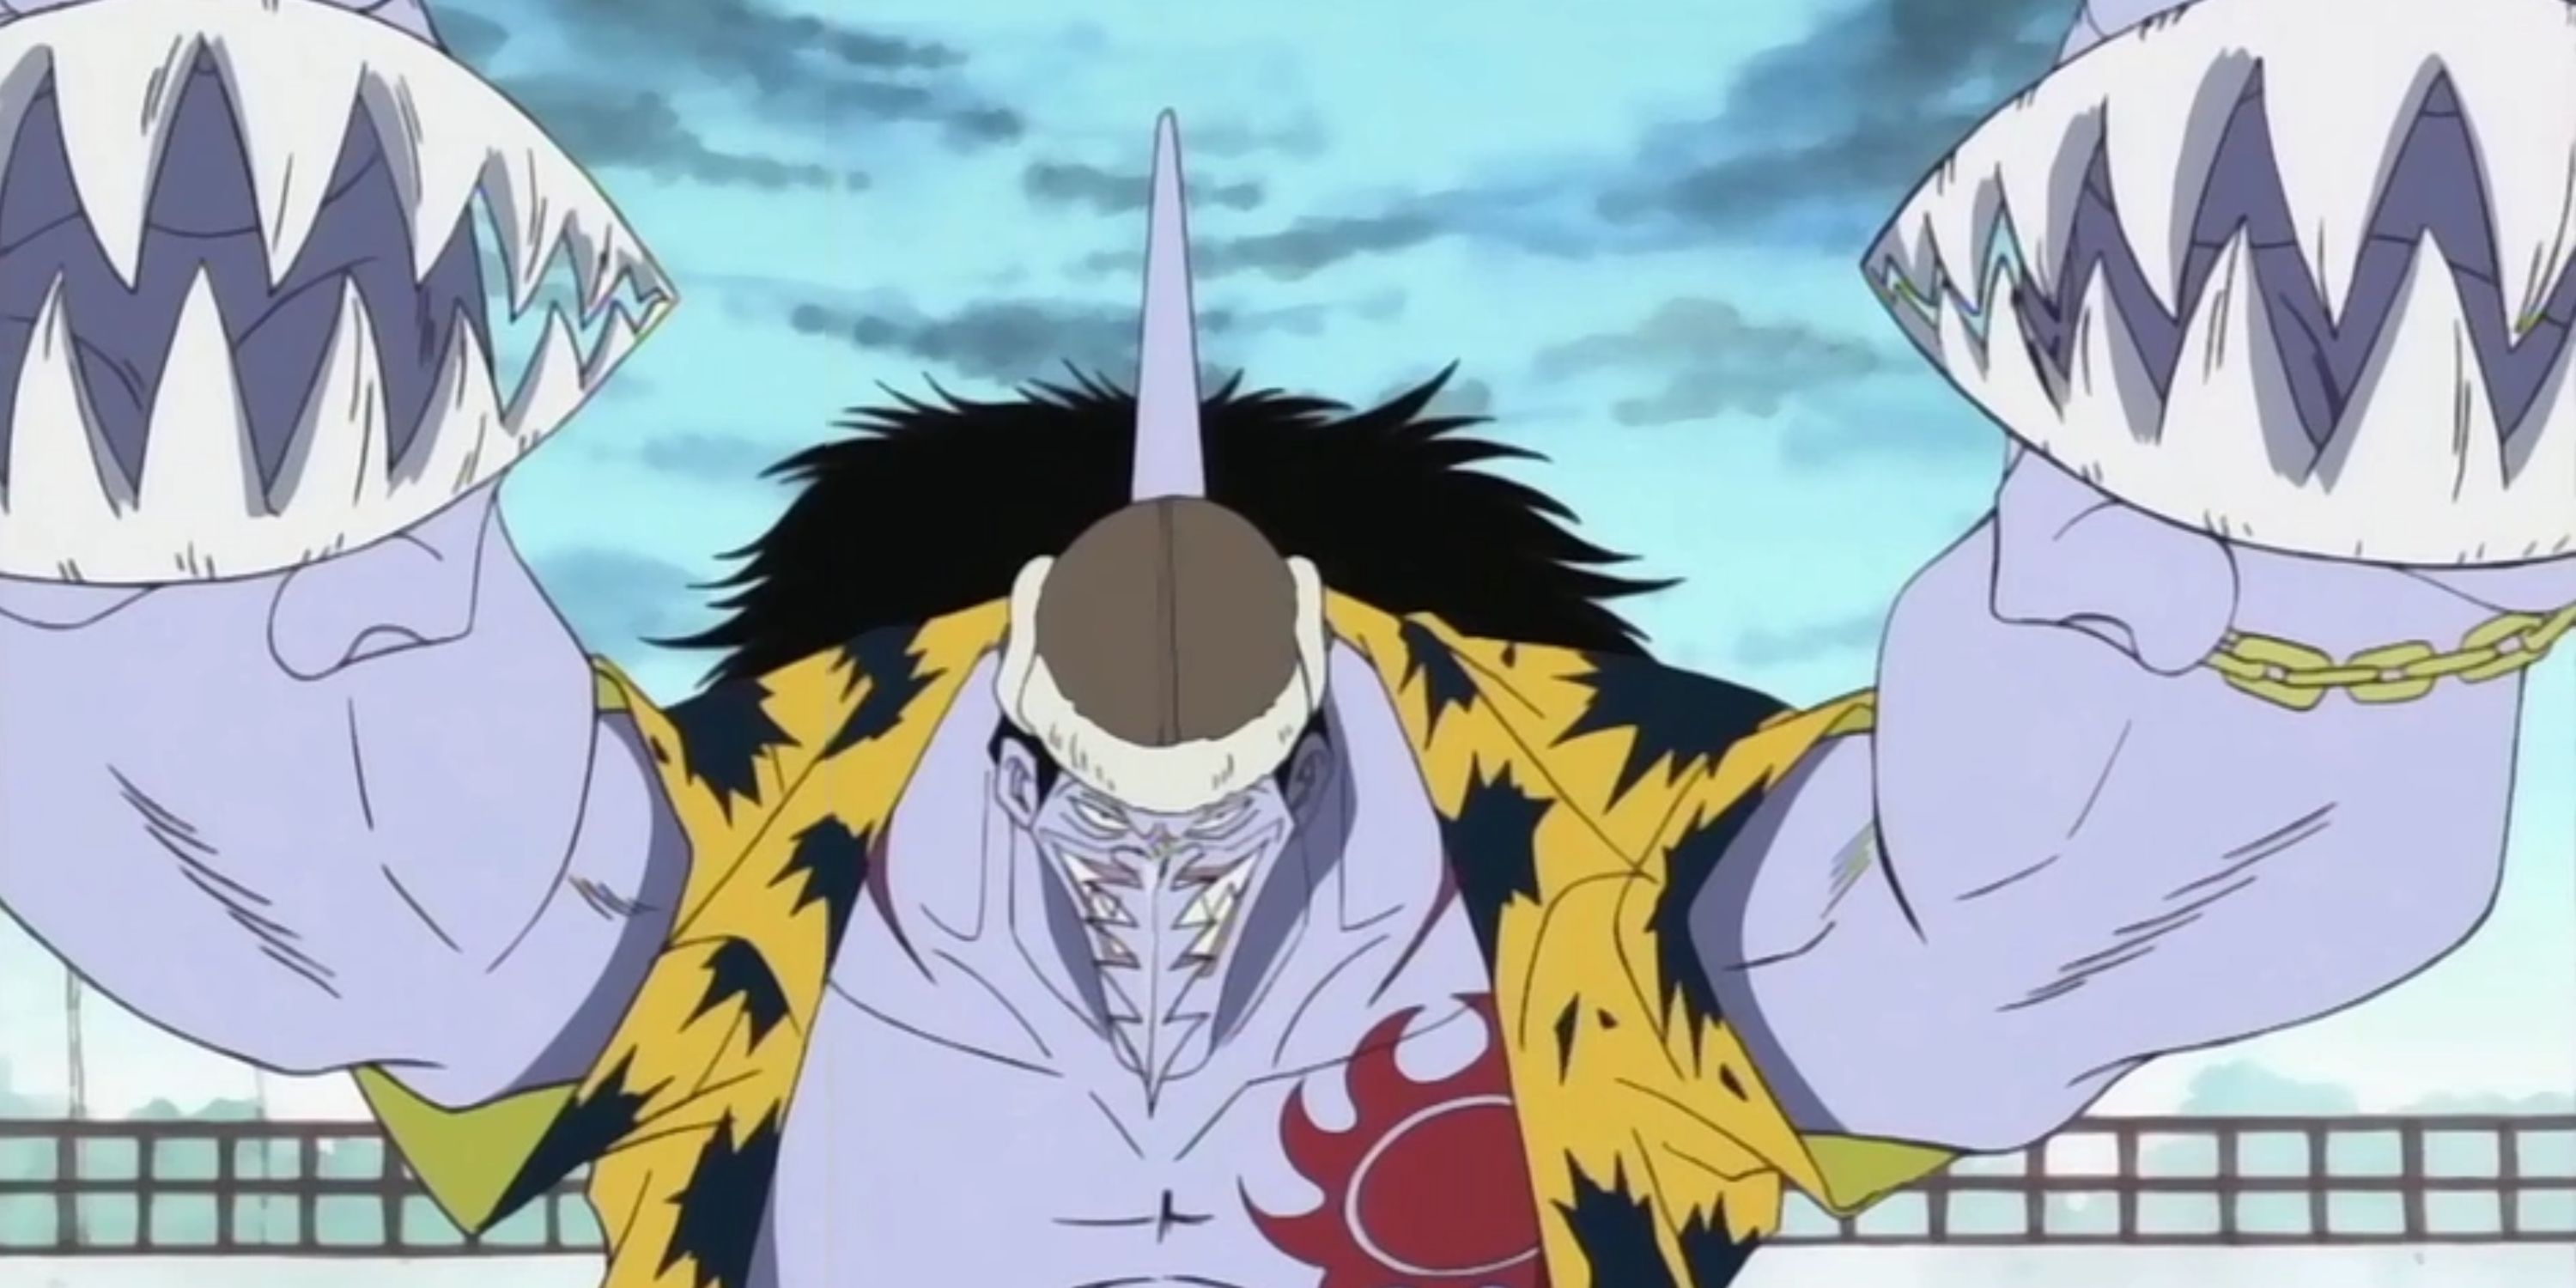
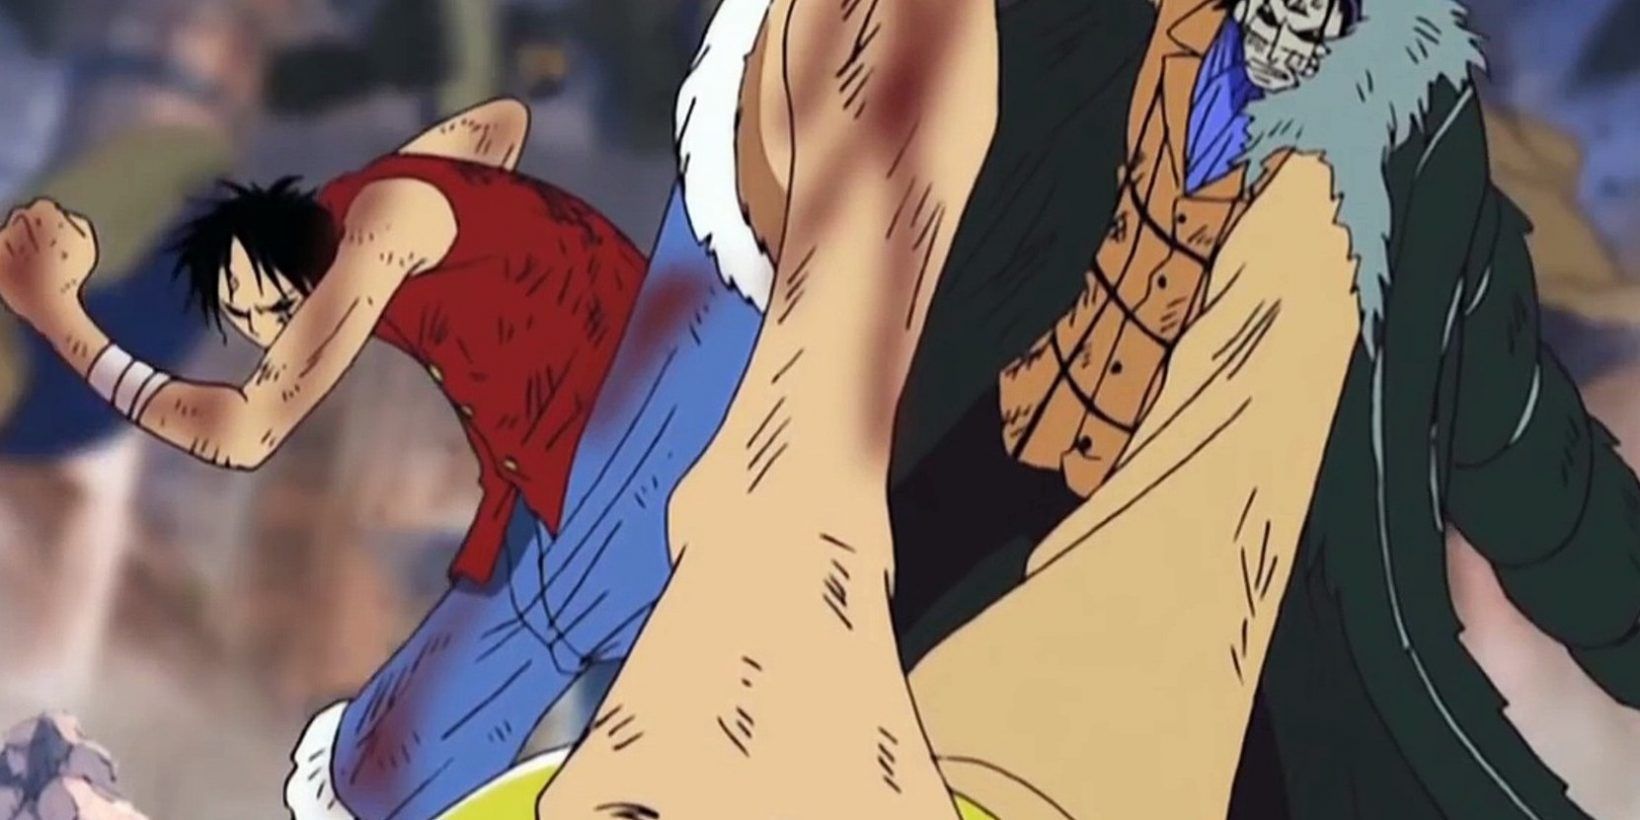
Bartholomew Kuma Effortlessly Defeated Luffy During Their Second Encounter
Arc
Episode No.
Episode Name
Sabaody Archipelago
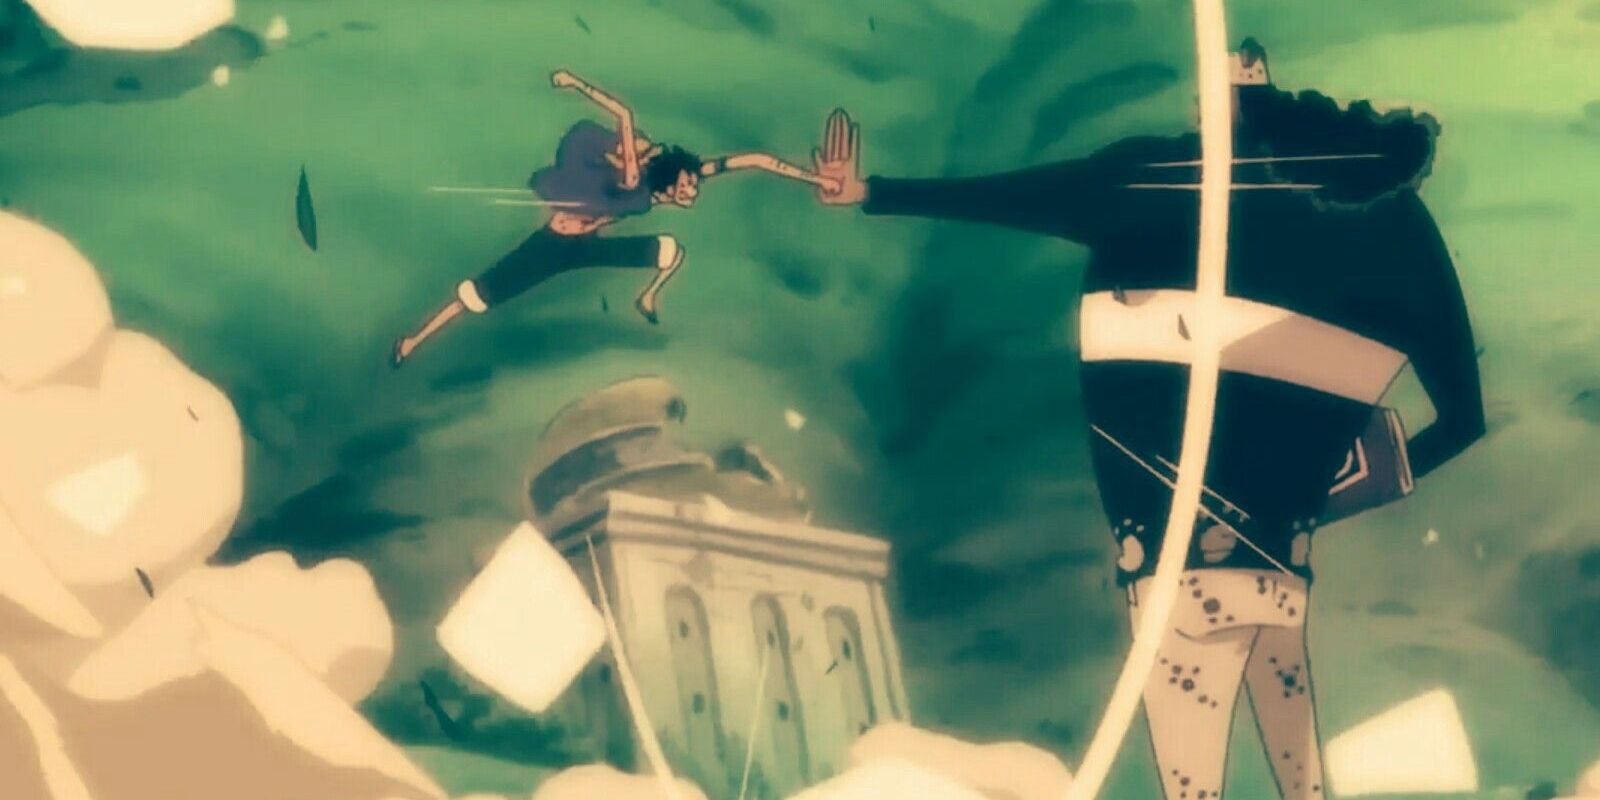
405
“Disappearing Crew – The Final Day of the Straw Hat Crew”
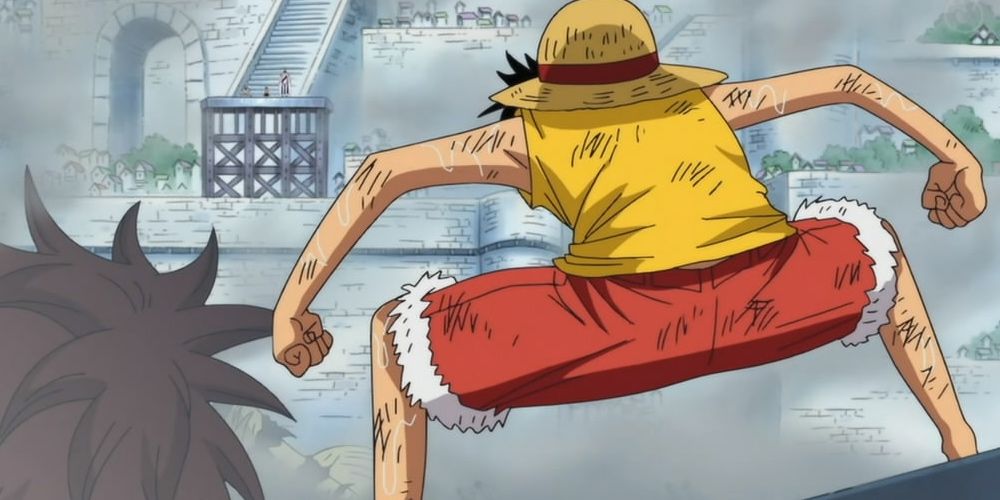
Bartholomew Kuma, in both his show-offs against the Straw Hats, demolished them with his powerful Paw-Paw Fruit’s abilities. During their first clash after the events of the Thriller Bark arc, for example, the Straw Hats were in no shape to resist Kuma because they were injured and exhausted from fighting Gecko Moria. Luffy was already unconscious when Kuma arrived on Thriller Bark, so Zoro decided to take on the responsibility.
Not long after that, Luffy and his crew faced Bartholomew Kuma again at Sabaody Archipelago, and Round 2 didn’t go any better than the first. This fight made clear the difference between Luffy and Kuma, which is why the Straw Hat ordered his crew to retreat for the first time ever. In fact, Kuma was the one who used the Paw-Paw Fruit to fling the Straw Hats all over the world, setting them up to each train alone until they reunited two years later.
Magellan Was Far Stronger And Tougher Than Luffy Could Handle

Arc
Episode No.
Episode Name
Impel Down
436
“The Fight Finished! Luffy’s Final Life Risking Attack”
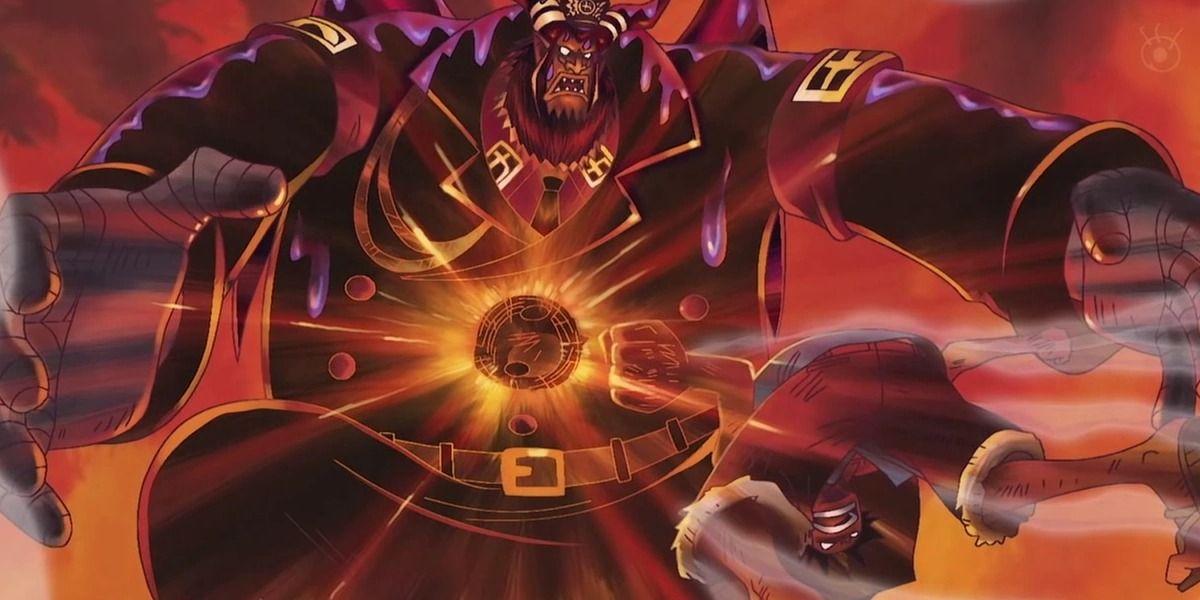
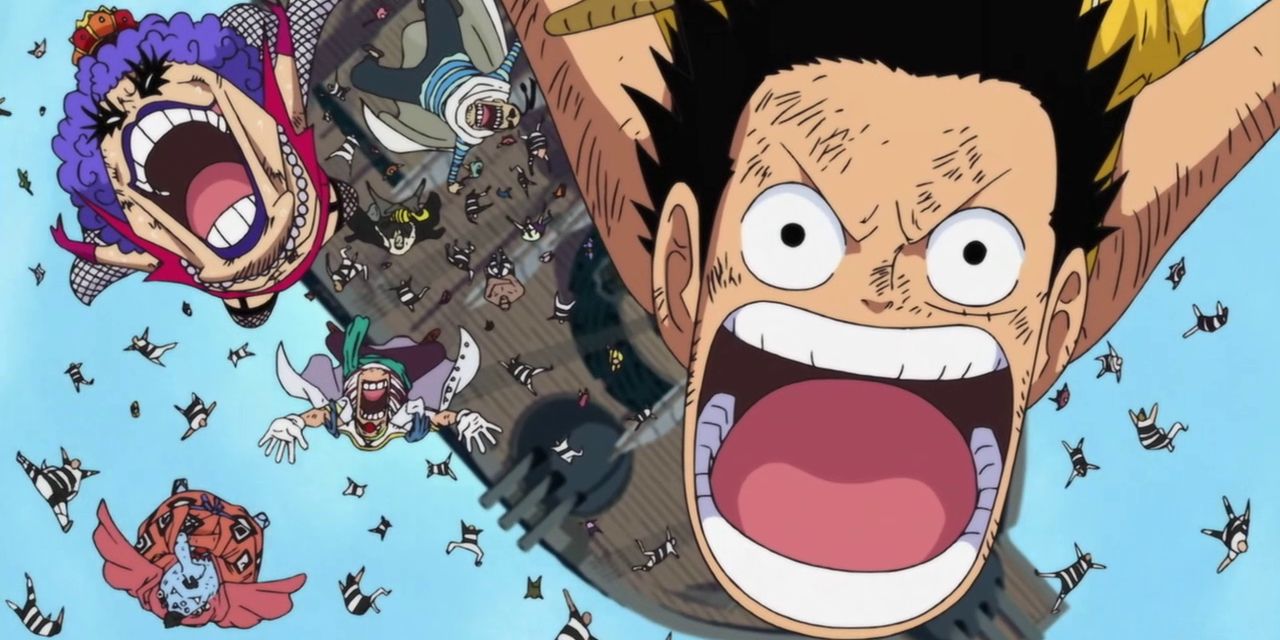
Monkey Luffy, for once, wanted to use stealth to get the job done and rescue his foster brother Ace from the dreaded undersea prison Impel Down. As expected, fighting broke out and Luffy’s cover was blown. Luffy started fighting his way through the prison’s hellish levels, defeating numerous opponents along the way. By level 4, Luffy finally met his match against the warden himself, Magellan.
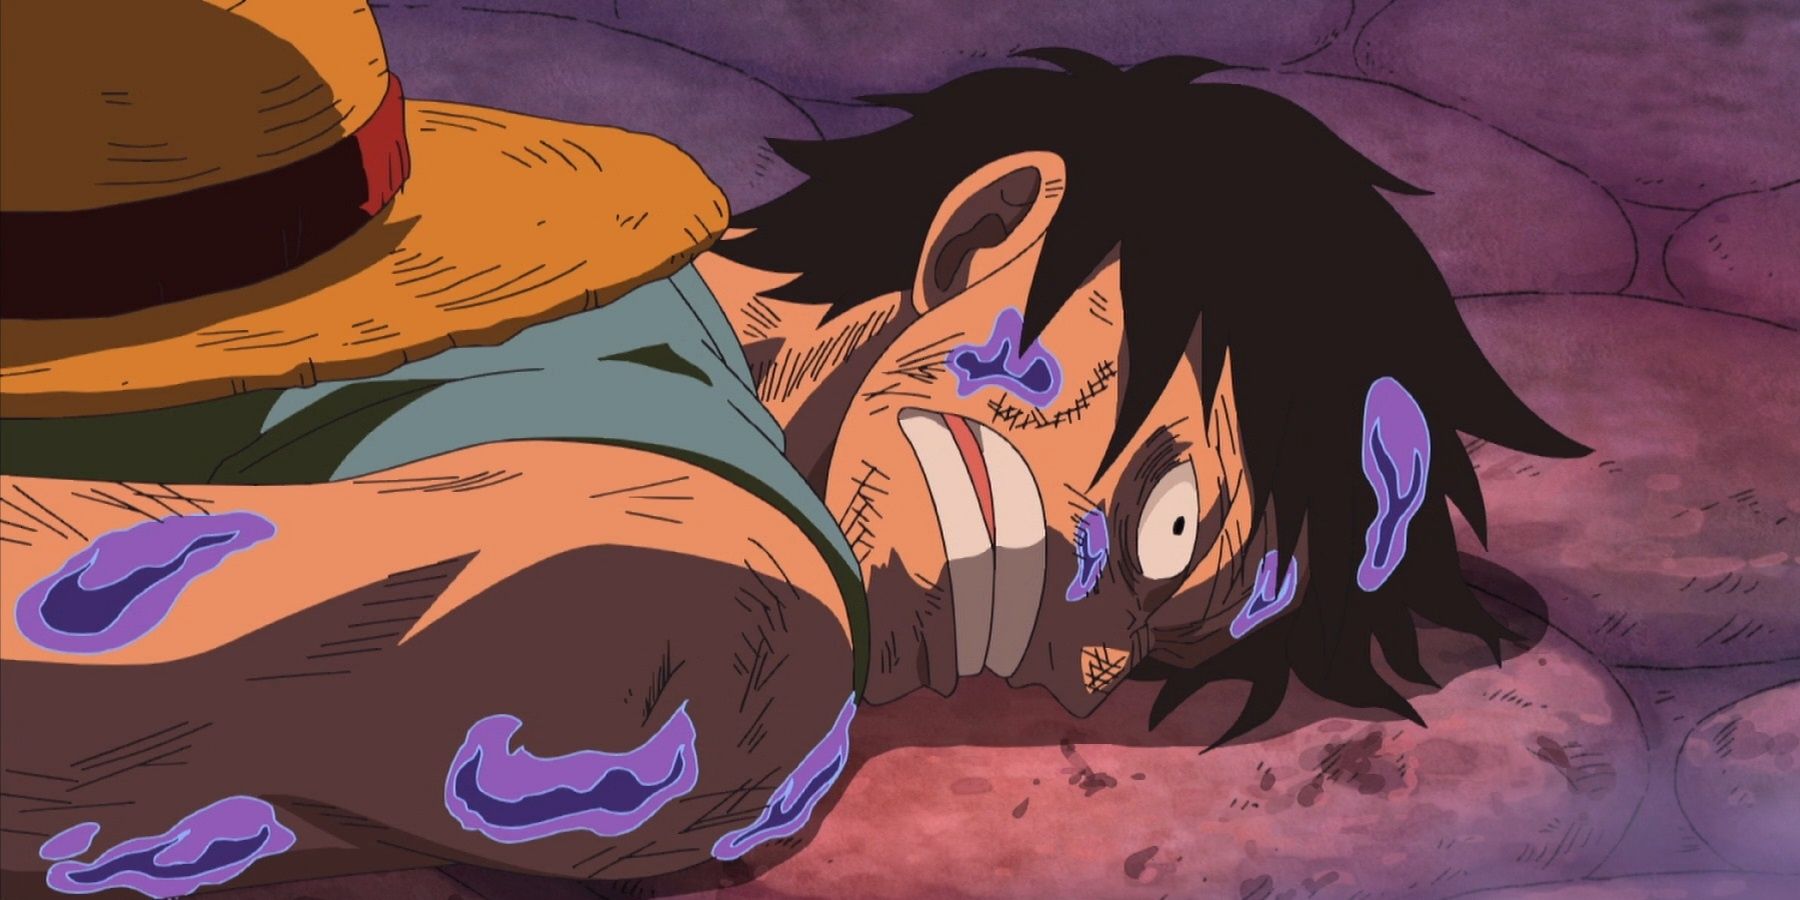
Magellan’s Venom-Venom Fruit allowed him to use deadly poisons in all kinds of ways, and Luffy had no counter to that power. Luffy knowingly sacrificed both arms to punch Magellan with all his might, but it was all in vain. Magellan’s own counter-attack soon had Luffy dying on level 4’s floor. It took a ton of effort from Ivankov and Bon Kurei to ensure Luffy’s survival. On a positive note, however, Luffy has since developed an impressive level of resistance against a wide range of toxins.
Kaido Casually Knocked Luffy Out During Their First Battle
Arc
Episode No.
Episode Name
Wano Country
915
“Destructive! One Shot, One Kill – Raimei Hakke!”
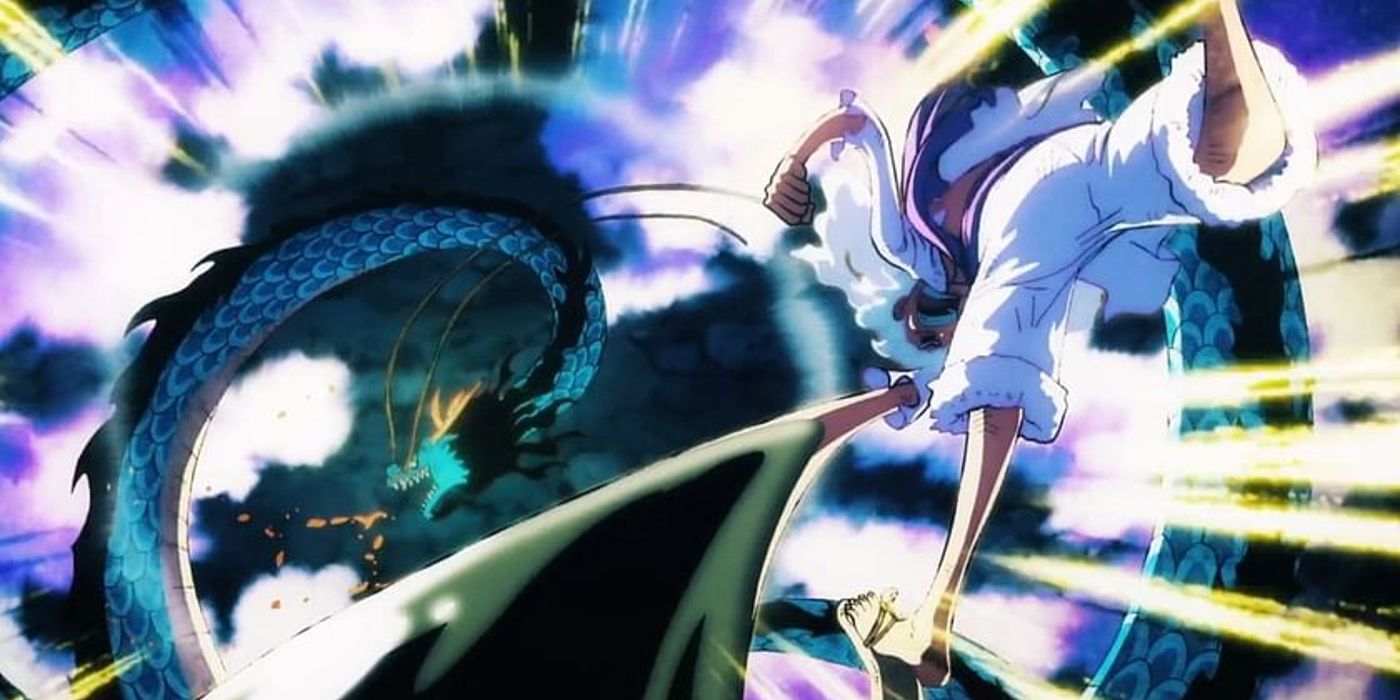
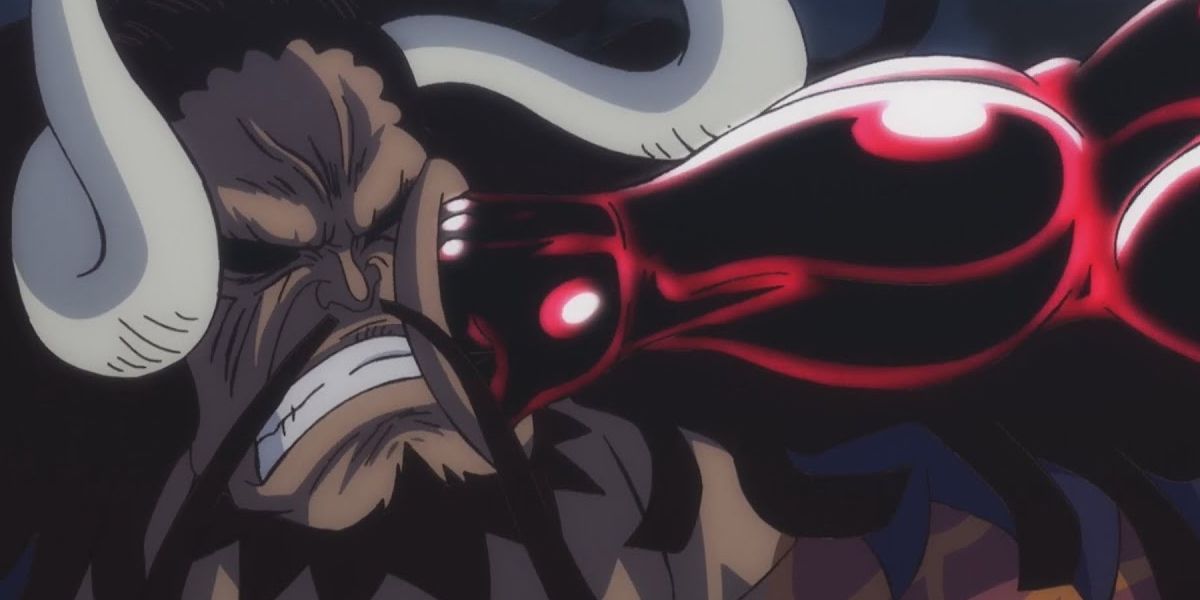
Early in the Wano saga, Luffy and his friends realized that the reclusive nation of Wano was under the thumb of two brutal tyrants. Shogun Kurozumi Orochi and the mighty Kaido, one of the Four Emperors, had been governing Wano for two decades when the Straw Hats reached the island. Luffy soon got a taste of what Kaido was capable of, and it ended badly.
Even when Kaido was intoxicated and held back, he was more than a match for Luffy, and no Gear-based attack could put Kaido down. Even techniques like Grizzly Magnum, Elephant Gatling, and Kong Organ had zero effect on the formidable Emperor. When Kaido decided that enough was enough, he casually whacked Luffy unconscious with his iconic Thunder Bagua ability. Luffy would spend the next few days incarcerated in Udon.
Luffy Lost Ace Despite Displaying His Overwhelming Courage
Arc
Episode Nos.
Episode Name
Marineford
483
“Looking for the Answer – Fire Fist Ace Dies on the Battlefield”
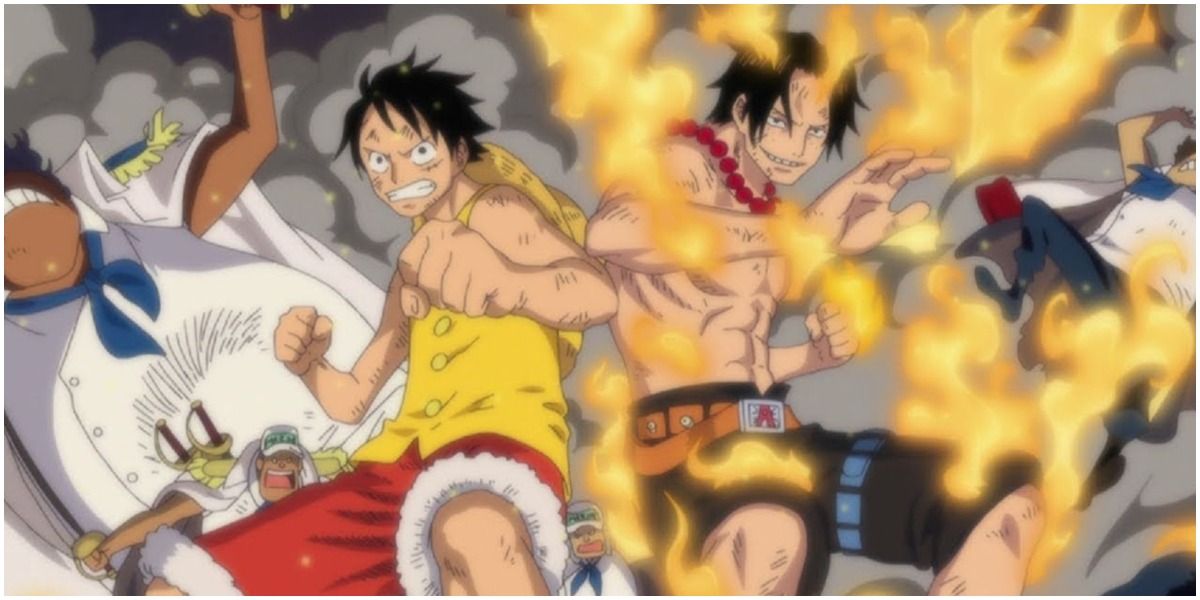
The Marineford arc still stands as one of One Piece‘s best, a massive all-out battle that featured some of the strongest characters in the story. Luffy wasn’t trying to win any wars, though; he only wanted to rescue Ace from execution. As such, he waded his way through an apocalyptic battlefield of pirates and Marines, even releasing his Conqueror’s Haki without realizing it.
Tragically, Luffy was too late. He fought hard, but he was no match for Admiral Akainu’s lava punches — and for that matter, neither was Ace. To Luffy’s horror, Ace had to take the blow for him and died of his wounds, leaving a grief-stricken Luffy who had no idea what to do. He essentially checked out of the situation, forcing his allies to intervene. Physically and emotionally, Luffy suffered a horrific defeat, but at least Trafalgar D. Water Law was around to bail him out safely.
News
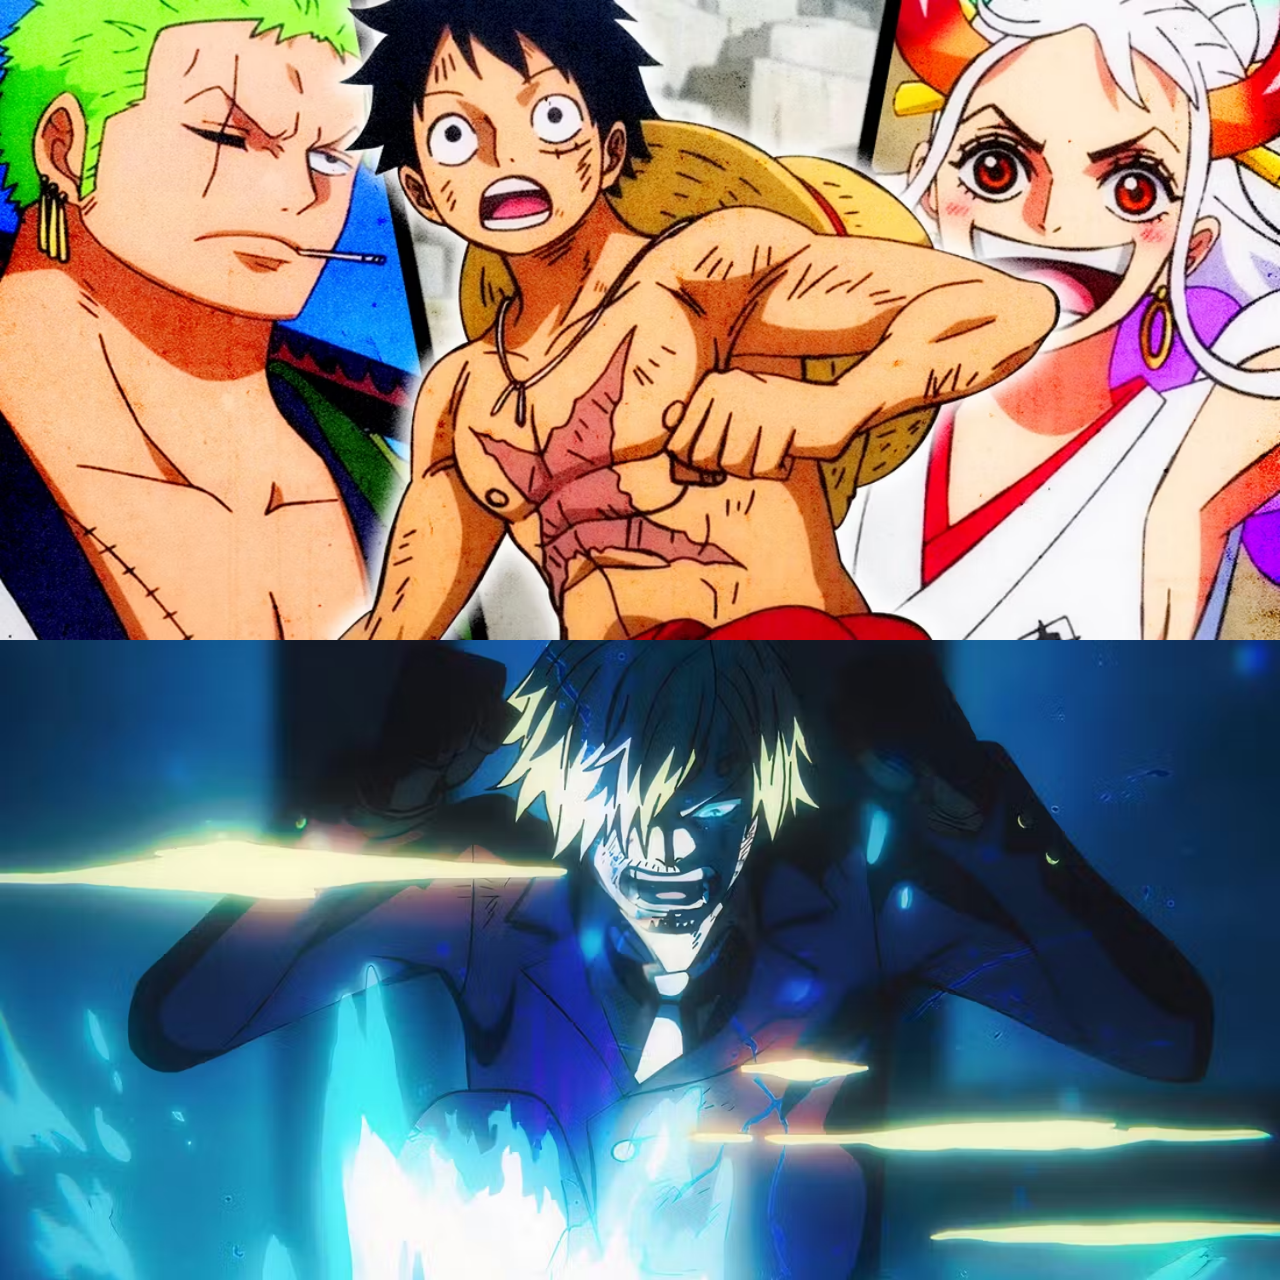
Lucci Disobeyed Orders and Attacked Luffy on Sight
One Piece’s Egghead Arc has pushed Monkey D. Luffy and his Straw Hat Pirate allies to their limits as the story kicks off the franchise’s final saga….

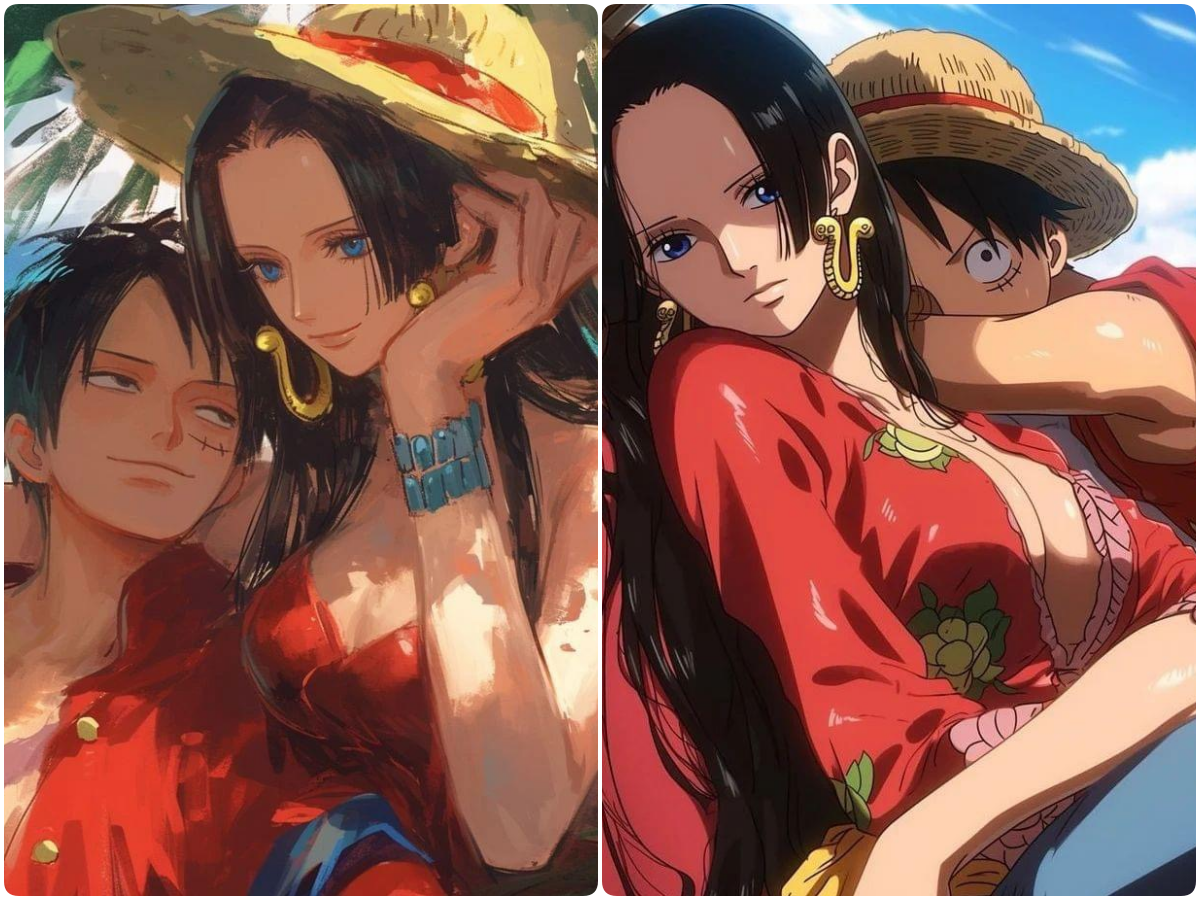
Nami Live Action Version
The Thai beauty queen reminds me of a famous manga/anime character. In recent days, the manga/anime fan community around the world in particular and movie fans in…

Just One Small Action, Messi’s Wife Received a ‘Shower of Compliments’
Antonela Roccuzzo, wife of superstar Lionel Messi, has received countless compliments for her warm actions towards a fan. Superstar Lionel Messi is preparing with his Argentina teammates…
10 Funniest Luffy Moments in One Piece
Humor is a staple of the One Piece franchise, coloring countless entertaining interactions between its beloved ensemble of unforgettable characters. Comedy is infused into the narrative and championed by…
Every One Piece Character Who Carries The Will Of D., Explained
One Piece is full of mysteries, including the titular treasure that Monkey D. Luffy and the Straw Hat Pirates have worked towards since the series’ inception. However, there…
One Piece: Every Straw Hat Pirate’s Fighting Style.
Between the endless variety of Devil Fruits, the multiple forms of Haki, and other viable options for achieving strength that exist within the setting, One Piece has one of…
End of content
No more pages to load